
How To
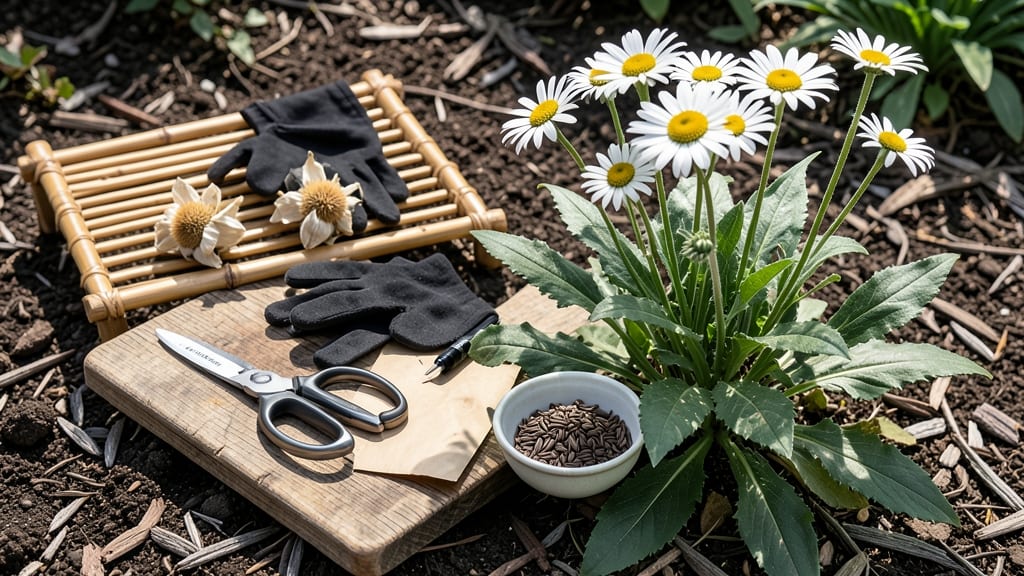
Harvesting Shasta daisy seeds 🌼 is like unlocking a free pass to next year’s garden—no nursery trips or extra costs, just pure, homegrown beauty waiting to bloom again.
If you’ve ever watched those cheerful white blooms fade and wondered what comes next, the answer is simpler than you think. With just a little patience and the right timing, you can turn those spent flowers into seeds that’ll grow into thousands of new daisies for free.
I’ll walk you through exactly when to collect those seeds—late summer or early fall—how to spot the perfect moment, and the easiest drying methods to keep them viable. No fancy tools or complicated steps, just a straightforward guide to save money and multiply your garden’s magic.
Whether you’re a seasoned gardener or just starting out, this is your chance to extend your Shasta daisy love without breaking the bank. Let’s get those seeds ready for planting!


When and how to identify mature Shasta daisy seed heads
Harvesting Shasta daisy seeds starts with spotting the perfect moment—when the flower heads are fully mature but not yet scattered by the wind. These daisy seed heads transform from vibrant blooms to brown, papery centers over 4-6 weeks after flowering.
Timing is everything, as harvesting too early means immature seeds, while waiting too long risks losing them to wind dispersal or pests.
Look for three key signs of readiness: the flower head should be completely brown, the seed pods should crumble easily between your fingers, and the fluffy seed tufts should detach with a gentle touch.
Avoid heads that still retain any green color or moisture—these seeds won’t germinate properly. The ideal harvest window is late summer to early fall, typically August through September in most USDA Zone 6a regions.
The best time of day to check for mature seed heads is on a dry, sunny morning. This reduces humidity, which can slow drying, and lets you see the brown centers clearly against the bright sunlight.
If you’re unsure, use the "finger test": gently press the center of the flower head. If it feels dry and brittle and the seeds inside rattle, it’s ready for harvest. If it’s still firm or green, wait 3-5 more days.
Seasonal timing matters too. In warmer climates, seed heads may mature earlier (July-August), while in cooler regions, they might not dry until September or October.
Always align your harvest with your local frost dates—you want to collect seeds before the first frost, which can damage the heads and reduce viability.
Pro tip: Mark your calendar when you first notice blooms fading to track their progress. Shasta daisies typically take 120-150 days from planting to seed maturity, so plan ahead if you’re growing them from seed.
If you’re harvesting from established plants, watch for the first flower head to brown and time your harvest 2-3 weeks later for the rest of the plant.
| Stage | Visual Cues | Action |
|---|---|---|
| Early Bloom | Bright white/yellow petals, green center | Observe and track blooming |
| Fading Bloom | Petals droop, center turns brown | Mark for harvest in 3-5 weeks |
| Mature Seed Head |
|
Harvest immediately |
| Overripe | Seeds scatter, heads disintegrate | Too late—lose seeds |
One common mistake is confusing mature seed heads with diseased or dead flowers. Look for even browning across the entire head—uneven discoloration or black spots can indicate fungal infections like powdery mildew.
If you spot these, avoid harvesting from that plant, as diseased seeds may not germinate or could spread issues to next year’s garden.
For large gardens, prioritize harvesting from the healthiest, most vigorous plants first. These will produce the strongest seeds for propagation. If you’re saving seeds from multiple plants, label each batch with the variety name and harvest date to maintain consistency in your garden.
This is especially important if you’re growing mixed varieties, as cross-pollination can occur between different Shasta daisy cultivars.
Finally, consider the weather forecast before harvesting. Aim for a dry, calm day to prevent seeds from getting wet or blown away. If rain is in the forecast, harvest 24-48 hours ahead to give the seed heads time to dry indoors.
This small adjustment can make a huge difference in seed viability and storage success.
With these cues in mind, you’ll never miss the perfect moment to harvest Shasta daisy seeds—turning last year’s blooms into next year’s garden highlights. The key is patience and attention to detail, but the reward is free, homegrown flowers for seasons to come!
Step-by-step process for harvesting, drying, and storing Shasta daisy seeds
Once you’ve identified your mature Shasta daisy seed heads, the next step is harvesting them properly to preserve viability. Use clean, sharp pruning shears to cut the seed heads when they’re completely dry—this usually happens in late summer or early fall after the blooms have faded.
Gently shake each head over a paper bag or envelope to release the seeds, or let them dry further before processing.
After harvesting, place the seed heads in a well-ventilated area like a dry garage or sunny windowsill. Avoid direct sunlight, which can overheat them. Let them dry for 1-2 weeks until the seed fluff feels crisp and the seeds rattle inside.
This step ensures high germination rates for next season’s garden.
- ✂️ Cut seed heads with clean shears when fully brown and dry.
- 🌬️ Shake heads over a paper bag to collect seeds.
- 🏡 Dry heads in a ventilated spot for 1-2 weeks.
- 📦 Store seeds in airtight containers with silica gel.
- 📅 Label containers with harvest date and variety.
For long-term storage, transfer the dried seeds into airtight containers like glass jars or envelopes. Add a silica gel packet to absorb moisture, which is critical for preventing mold.
Store containers in a cool, dark place, such as a pantry or refrigerator, where they’ll remain viable for 2-3 years. Always label containers with the harvest year and variety to avoid confusion.
If you notice mold or dampness during drying, move the seeds to a drier location immediately. Premature sprouting can also occur if seeds aren’t fully dry—this is a sign they need more time in the drying process.
By following these steps, you’ll ensure your Shasta daisy seeds stay fresh and ready for planting.
Pro tip: Test a few seeds by planting them in early spring to confirm viability. This simple check saves time and ensures you’re ready for a full-scale planting when the season arrives. With proper care, your homegrown Shasta daisies will bloom as beautifully as ever!
🌱