
Tools
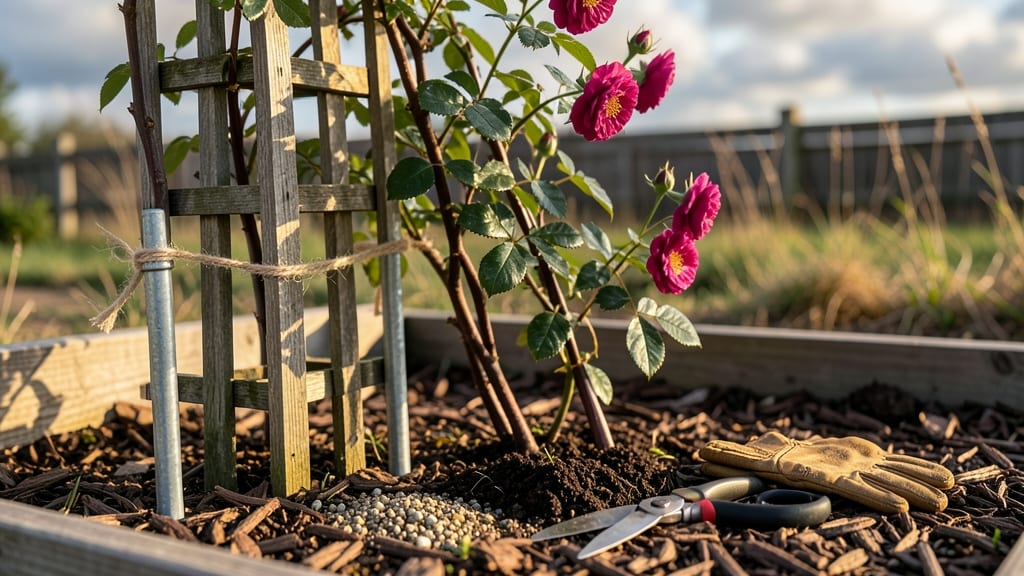
That first whiff of roses climbing your DIY trellis changes everything. 🌹 How to build a climbing rose trellis turns a simple fence into a year-round floral masterpiece, and I’ve built enough to know the difference between a flimsy structure that sags and one that holds roses aloft like a garden crown.
You don’t need fancy materials—just 2x4s, lattice panels, or even repurposed metal grates—to create a trellis that lasts decades. The key is spacing: 12-18 inches apart for airflow and 6-8 feet tall to support vigorous climbers like ‘New Dawn’ or ‘Blaze’.
A well-built trellis isn’t just functional; it’s the backbone of your garden’s vertical drama.
By the time you’re done, you’ll have a frame that resists wind, supports heavy blooms, and frames your garden like a living painting. The best part? It blends seamlessly into any landscape, from cottage-style gardens to modern minimalist spaces.
Whether you’re lining a walkway or dressing up a bare wall, this trellis becomes the star of the show—not just a support, but a design statement. Let’s get building!
📚 In This Guide
- What you need
- Instructions
- Tips and common mistakes
- Wrapping up and next steps
What you need
- ● 4x4-inch wooden posts (4) – For corner supports (8-foot tall for standard trellises; adjust based on rose height).
- ● 2x4-inch lumber (6-8 pieces) – For horizontal and diagonal braces (cut to fit your trellis dimensions).
- ○ Galvanized wire or metal lattice panels (optional but recommended) – 1-2 panels (4' x 8') for climbing support.
- ● Outdoor-rated screws or lag bolts (20-30) – 3-inch galvanized screws for wood-to-wood connections.
- ○ Concrete or gravel (optional) – For anchoring posts (1-2 bags of quick-setting concrete or 10 lbs. of gravel).
- ● Wood preservative or sealant – To protect against weather (1 gallon).
- ● Tape measure
- ● Circular saw or handsaw
- ● Drill/driver with screw bits
- ● Level (4-foot)
- ● Post hole digger or auger (if setting in ground)
- ● Staple gun (if using lattice panels)
- ● Safety gear (gloves, goggles, ear protection)
- ● Decorative lattice or trellis panels for a polished look
- ● Post caps or decorative finials for a garden-ready finish
- ● Stakes and twine for temporary support during assembly
- ● Waterproof paint or stain for extra longevity
Step-by-step instructions for building a climbing rose trellis
Here's my go-to method for constructing a trellis that supports roses beautifully while standing up to seasons of blooms.
🪴 Step 1: Plan and Gather Materials
First, decide on your trellis design—whether it's a simple 4-foot tall arched frame or a 6-foot vertical panel against a fence. For this guide, we'll build a 5-foot tall freestanding A-frame using 2x4 lumber and 1x2 boards for the lattice. You'll need two 8-foot 2x4s for the vertical supports, two 5-foot 2x4s for the cross braces, and a 10-foot length of 1x2 boards for the lattice panels.
Check your lumber for straightness—warped boards will create weak spots where vines can escape. Cut the 2x4s precisely: two at 5 feet for the vertical posts and two at 3 feet for the horizontal braces. Pre-drill holes at each connection point to prevent wood splitting when you assemble. Here's the thing—skipping this step often leads to wobbly trellises that lean or collapse under heavy blooms.
✂️ Step 2: Assemble the Frame Structure
Start by attaching the 3-foot horizontal braces to the 5-foot vertical posts using 3-inch exterior wood screws. Position the braces 18 inches from the top and 18 inches from the bottom of each post—this creates a sturdy A-frame that distributes weight evenly. Use a level to ensure both posts stand perfectly vertical before securing them together with 2x4 corner braces at the base.
Drive screws at a 45-degree angle into the corner braces for maximum strength. Test the frame by gently pushing at the top—it should hold firm without flexing. If it wobbles, add an extra brace or adjust the angle. This is the moment that matters: a shaky frame will fail when roses are in full bloom, so take your time here.
🌱 Step 3: Create the Lattice Panels
Cut the 10-foot 1x2 board into five 2-foot lengths for the lattice. Space these boards 2 inches apart vertically on one side of the frame, securing them with 1.5-inch deck screws to the 2x4 supports. Leave the opposite side of the frame open—this creates a cage-like structure that encourages roses to twine naturally while allowing airflow to prevent fungal diseases.
For extra durability, add a horizontal 1x2 slat every 12 inches between the vertical boards. This reinforcement prevents the lattice from sagging under the weight of climbing roses. I like to round the edges of the boards slightly with sandpaper—sharp edges can damage tender rose canes as they grow.
☀️ Step 4: Anchor and Position the Trellis
Dig two 12-inch deep holes at the base of the trellis, spaced 4 feet apart to match the width of your frame. Set the trellis in place and backfill the holes with concrete mix, tamping it firmly to secure the structure. For windy areas, bury the posts 6 inches deeper and use galvanized metal stakes for additional support.
Position the trellis where it gets at least 6 hours of direct sunlight daily—roses need full sun to produce their best blooms. Face the open side of the lattice toward the prevailing wind to reduce stress on the canes. Once the concrete sets (usually 24 hours), you're ready to plant your climbing roses 6 inches away from the trellis and train the canes upward as they grow.
💧 Step 5: Maintain and Reinforce Over Time
Check the trellis annually for loose screws or sagging boards—especially after winter storms. Tighten any connections and replace damaged lattice pieces immediately. Prune roses in late winter to remove dead or crossing canes, which helps keep the trellis from becoming overloaded with weight.
I know it seems like overkill, but I've seen trellises collapse under the weight of heavy blooms—don't skip the annual check. A well-maintained trellis will support 10+ years of climbing roses with minimal upkeep. Here's the payoff: a sturdy frame means roses bloom thicker, last longer, and stay healthier season after season.
Tips & tricks for perfect climbing rose trellis construction
Between us, these small details make the difference between a trellis that lasts a decade and one that sags after the first heavy bloom. Here's what I've learned from building trellises for over 15 years of rose gardens.
Material Selection: Never skimp on lumber quality—pressure-treated 2x4s and cedar 1x2s resist rot better than pine. I've seen untreated pine trellises rot out in just two seasons when exposed to moisture. For the 5-foot vertical posts, look for boards with minimal warp—even a slight bow can cause the frame to lean over time. Run your hand along the length before purchasing; any noticeable curve means it won't stand straight.
Precision Cutting Matters: When cutting your 5-foot vertical posts and 3-foot horizontal braces, use a miter saw for clean cuts. The 18-inch spacing from top and bottom in Step 2 creates the perfect weight distribution, but only if your cuts are accurate. I mark the measurements directly on the lumber with a pencil before cutting—this prevents mistakes when assembling. For the lattice boards, cut them 1/8-inch shorter than your measured spacing to allow for slight expansion when screws are driven.
Screw Placement Strategy: In Step 2, when attaching the braces, use two screws at each corner of the braces rather than one. This creates a stronger connection that resists the outward pressure from climbing roses. For the lattice panels, pre-drill pilot holes for the 1.5-inch deck screws—this prevents wood splitting, especially with the thinner 1x2 boards. I like to use a counter-sink bit so the screw heads sit flush with the wood, creating a cleaner look and preventing snagging on rose canes.
Concrete Curing: Don't rush the 24-hour concrete curing time in Step 4. While it might seem ready after a few hours, concrete needs full hydration to reach maximum strength. For extra security in windy areas, add one additional 2x4 brace diagonally between the posts before pouring concrete. This creates a triangle structure that's nearly impossible to bend, even with heavy blooms pressing against it.
Pro Tips for Build A Climbing Rose Trellis
- Between us, these small details make the difference between a trellis that lasts a decade and one that sags after the...
- Material Selection: Never skimp on lumber quality—pressure-treated 2x4s and cedar 1x2s resist rot better than pine. I...
- Precision Cutting Matters: When cutting your 5-foot vertical posts and 3-foot horizontal braces, use a miter saw for ...
Frequently asked questions
Got questions about building your climbing rose trellis? Here are some common ones—and their answers—to help you get started with confidence.
What’s the best time of year to build a climbing rose trellis?
The ideal time is late winter or early spring, before new growth begins. This gives your roses enough time to establish roots and climb the trellis by summer. If you’re working with bare-root roses, build it before planting (typically 2–4 weeks before the last frost).
Do I need to treat the wood before assembling the trellis?
Yes! Use a wood preservative or outdoor paint to protect against rot, insects, and weather damage. Skip pressure-treated wood near rose canes—it can leach chemicals. Cedar or redwood are natural, rot-resistant alternatives that look great too.
Can I use a pre-made trellis instead of building one?
Pre-made trellises (like arched metal, lattice panels, or wire cages) work well for small spaces or renters. Just ensure it’s at least 6–8 feet tall for climbing roses and sturdy enough to support blooms. DIY is cost-effective, but convenience has its perks!
How do I keep my trellis from leaning or collapsing?
Start with a wide base (bury posts 1–2 feet deep or anchor with concrete). For extra stability, add cross-bracing or tie the trellis to a wall or fence. Heavy roses need stronger supports—consider adding a central post for tall varieties like ‘New Dawn’.
Will my roses climb a trellis if I plant them against a fence instead?
They’ll grow, but climbing roses thrive with a trellis because it guides their growth upward, improving airflow (reducing disease) and showcasing blooms. A fence works in a pinch, but a trellis gives you better control over pruning and shape. Plus, it’s prettier!
How do I prevent pests from damaging my trellis or roses?
Choose resistant wood (like cedar) and treat it with a natural repellent (e.g., neem oil). Prune regularly to improve airflow, and remove fallen leaves/debris. For pests like aphids, spray with soapy water or introduce ladybugs. A healthy rose is a happy rose!
Wrapping up and next steps
Building a climbing rose trellis is a rewarding project that combines creativity with practicality—giving your roses the support they need to thrive and you a stunning vertical garden.
With the right materials, a little patience, and these step-by-step instructions, you’ll create a sturdy frame that turns your yard into a blooming paradise. Now that you’re equipped with the know-how, it’s time to roll up your sleeves and get building! 🌹✨
Once your trellis is complete, don’t stop there—plant your climbing roses, tend to their needs, and watch your garden transform. Next up? Choose your rose varieties and start pruning for a show-stopping display next season!