
How To
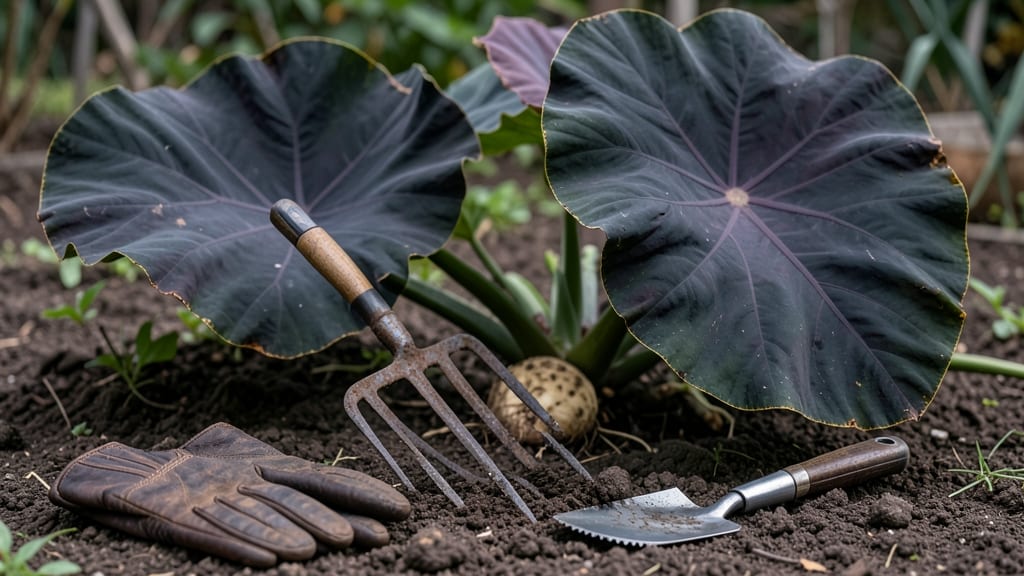
How to dig up elephant ears in fall saves your prized plants from frost damage. 🌿 I’ve learned the hard way—skipping this step means lost tubers to freezing temps. The key is timing, tools, and careful handling to keep those thick rhizomes intact for next season.
You’ll need a sturdy fork or sharp shovel, gloves, and a wheelbarrow for hauling. Mark where each plant grows first—those arrowhead-shaped leaves hide underground treasures. Work on a dry day when soil is workable but not baked hard.
Gently loosen soil around the base, then lift the entire plant, shaking off dirt to spot the thick, knobby tubers. Trim foliage to 2-3 inches above the rhizome and let them dry in a shady spot for a week before storing in peat moss or vermiculite.
Mistakes like cutting tubers or storing them too wet spell disaster. In colder zones, dig 4-6 weeks before first frost—warmer climates can wait until leaves yellow. With this method, you’ll wake up next spring with a head start on lush foliage.
📚 In This Guide
- What you need
- Instructions
- Tips and common mistakes
- Wrapping up and next steps
What you need
- ● Garden fork or digging fork (1–2, 18–24" long with sturdy tines for prying roots)
- ● Garden gloves (heavy-duty, waterproof—elephant ear roots can be sharp!)
- ● Pruners or sharp knife (for trimming foliage and roots)
- ● Wheelbarrow or large buckets (2–3, for transporting tubers)
- ● Burlap sacks or cardboard boxes (to store tubers temporarily)
- ● Hose or water source (for rinsing roots post-harvest)
- ○ Compost or mulch (optional but helpful for curing tubers)
- ● Shovel with broad blade (for loosening soil before forking)
- ● Knee pads (if you’ve got a big patch to tackle!)
- ● Disinfectant spray (to clean tools and prevent disease spread)
- ● Labeling tags (if saving seeds or varieties for next year)
- ● Tarp or plastic sheet (to lay down before digging for easier cleanup)
Step-by-step instructions for digging up elephant ears in fall
Here's how I save my prized elephant ears year after year—no roots left behind.
🪴 Step 1: Time the Digging for Perfect Conditions
Wait until after the first hard frost when foliage has blackened completely but before the ground freezes solid. I aim for 2-3 weeks after frost—this gives roots time to harden off but prevents them from rotting in cold soil. Check your local frost dates and mark the calendar.
On the morning you dig, feel the soil temperature. If it's below 40°F, wait another week. Cold soil makes roots brittle and more prone to breakage. I test by sticking my finger in—if it feels like an ice cube, hold off.
✂️ Step 2: Cut Back Foliage and Loosen Soil
Use sharp pruners to trim stems back to 2-3 inches above the soil line. This reduces weight and prevents disease from lingering foliage. I always clean my pruners with rubbing alcohol between plants to avoid cross-contamination.
Gently loosen the soil around the base with a garden fork, working it in 6-8 inches deep. The goal is to sever lateral roots without chopping the main tuber. If soil is stubborn, add a little water to soften it—dry soil cracks easily and damages roots.
💧 Step 3: Lift Tubers Carefully
Grasp the base of the plant and lift straight up, using your fork to pry if needed. Elephant ear tubers are heavy—4-6 pounds each—so brace your knees and lift slowly. Never drag them; this tears roots and creates wounds that rot later.
Shake off excess soil to inspect for damage. Healthy tubers have firm, brown skin with no soft spots. If you see any, trim the bad areas with a sterilized knife and dust with cinnamon to prevent rot. I keep a bucket of water nearby to rinse off clinging dirt.
☀️ Step 4: Cure and Store for Winter
Let tubers air-dry in a shady, well-ventilated spot for 3-5 days. I prop them on a wire rack to ensure airflow around all sides. Avoid direct sunlight—it causes skin to toughen too quickly and crack.
Once completely dry, store in a cool, dark place (around 40-50°F) with 50-60% humidity. I use a mesh bag with a handful of peat moss to maintain moisture. Check monthly and remove any tubers that feel soft or smell musty—these won't survive the winter.
⏰ Step 5: Prepare for Spring Planting
Two weeks before your last frost date, inspect stored tubers for signs of sprouting. Healthy ones will show small green shoots—this is your cue to start chitting (pre-sprouting). Place them in a bright, warm spot (65-70°F) and keep soil lightly moist.
When shoots reach 2-3 inches, they're ready to plant. I always soak tubers for 1 hour before replanting to rehydrate them gently. Use the same depth they grew at last season—no deeper than 4 inches—or they'll rot.
Tips & tricks for perfect fall elephant ear harvest
These simple tricks will help you preserve your prized elephant ears for next season without a single root lost.
Timing is Everything: That 2-3 week window after frost is critical—it's when the plant's natural sugars convert to starch, making tubers more resilient. I check my local weather app daily during this period. If you're in a warmer microclimate, you might need to adjust by a week or two. The key is blackened foliage but unfrozen ground.
Tool Prep Prevents Problems: Before you even touch your plants, sterilize your pruners and garden fork with rubbing alcohol. I keep a small spray bottle of 70% isopropyl alcohol handy for quick cleanups between plants. This prevents spreading any fungal spores that could ruin your entire harvest. Sharp tools make all the difference—dull blades tear tissue instead of cleanly cutting.
Storage Secret: For that 3-5 day curing period, I've found that a well-ventilated garage or basement works perfectly—just avoid direct sunlight. The goal is to let the skin toughen naturally. Pro tip: If you're in a humid climate, add a small fan to circulate air. I once lost half my harvest when I skipped this step in a damp basement, and the tubers developed mold within days.
Spring Planting Prep: When you're chitting those tubers in Step 5, use a mix of perlite and peat moss (50/50) in your sprouting container. This prevents rot while keeping roots aerated. I also mark each tuber with a permanent marker before storing—this helps me remember which varieties I have when spring rolls around. The 1-hour soak before planting is non-negotiable; it jumpstarts their growth cycle.
Pro Tips for Dig Up Elephant Ears In Fall
- These simple tricks will help you preserve your prized elephant ears for next season without a single root lost.
- Timing is Everything: That 2-3 week window after frost is critical—it's when the plant's natural sugars convert to st...
- Tool Prep Prevents Problems: Before you even touch your plants, sterilize your pruners and garden fork with rubbing a...
Frequently asked questions
Got questions about digging up your elephant ears (Colocasia) before winter? You’re not alone! Here are some of the most common concerns—and straightforward answers—to help you tackle the task with confidence.
When is the exact best time to dig up elephant ears in fall?
Dig when nighttime temperatures drop to 40–50°F (4–10°C), but before hard frost hits (below 32°F/0°C). This usually means late September to early November, depending on your climate zone. Watch for yellowing leaves—they’re nature’s signal it’s time to act!
Do I need to cut the leaves before digging, or can I leave them?
Trim the leaves after digging to reduce stress on the tubers. Cut them back to 2–3 inches above the soil, but leave the stems attached until you’ve stored the roots. This helps prevent sap loss and keeps the tubers from drying out too quickly.
Can I replant elephant ears the following spring, or should I treat them like annuals?
Elephant ears are perennial tubers—you can replant them! Store them in a cool, dry place (like a paper bag in the fridge) over winter, then replant in spring after the last frost. Just avoid overwatering until new shoots appear to prevent rot.
What if I miss the window and frost hits before I dig? Can I still save them?
Don’t panic! If frost damages the foliage but the tubers are still intact, dig them up immediately. Brush off soil, let them dry for a day, and store them in a cool, dark place (like a basement). They may sprout later, but growth might be slower until next season.
Are there any alternatives to digging if I can’t this fall?
If digging isn’t feasible, mulch heavily with straw or leaves (10+ inches) to insulate the tubers. In mild climates (zones 8–11), they may survive winter outdoors. However, dug tubers store better and give you more control over replanting timing!
Wrapping up and next steps
Digging up elephant ears (Colocasia) in fall is all about timing, patience, and a little elbow grease—but the reward is worth it!
By harvesting before the first frost, you’ll preserve those stunning leaves for winter decor or replant tubers for next season. Remember: gentle handling and proper storage are key to keeping your tubers healthy.
Now that you’re armed with the know-how, roll up your sleeves and get digging! 🌱 Once you’ve harvested, check out our storage guide to keep your tubers thriving until spring. Happy gardening!