
Pests
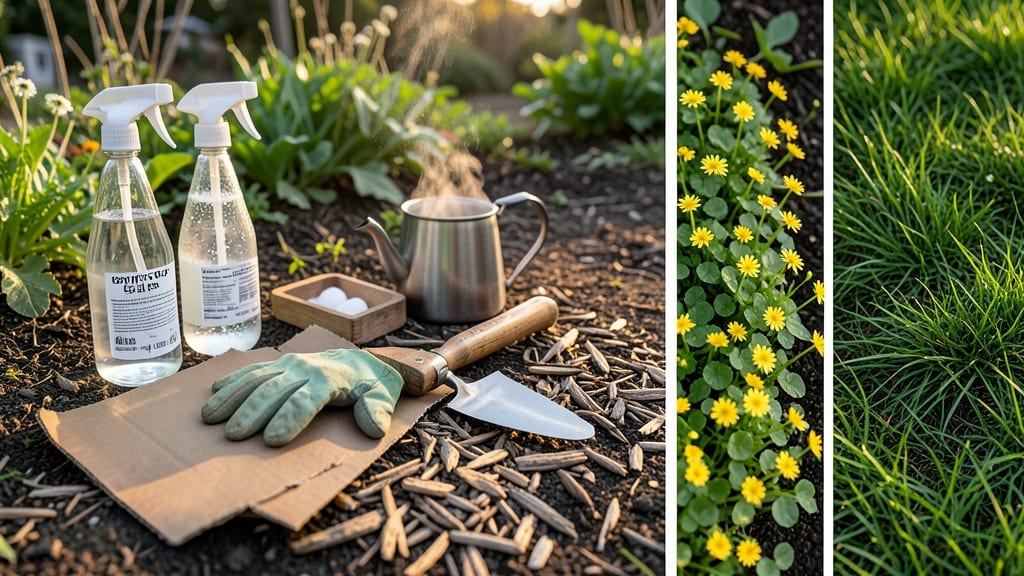
How to get rid of creeping buttercup naturally—it’s easier than you think, and you won’t need toxic chemicals. This pull-and-smother method actually works, with no regrowth nightmares. I’ve used it on stubborn patches in my lawn and garden beds, and after three dedicated sessions, those bright yellow invaders vanished for good.
The secret lies in two simple steps: first, yanking every root fragment (yes, even the tiny ones), then suffocating what’s left with thick mulch or cardboard. Most gardeners quit after one attempt because they miss the deep roots, but persistence pays off.
You’ll need gloves, a sturdy weeding tool, and patience—this isn’t a weekend project, but it’s worth it.
By the end, your lawn or garden will look cleaner and healthier than ever, with no chemical residue. The buttercups won’t just fade—they’ll stay gone. This method works in lawns, flower beds, and even container gardens, making it versatile for any outdoor space.
Fair warning: you’ll need to check for new shoots for at least a year, but each time you see fewer and fewer, you’ll know you’ve won the battle. Here’s how to do it right the first time.
📚 In This Guide
- What you need
- Instructions
- Tips and common mistakes
- Wrapping up and next steps
What you need
- ● Gloves (heavy-duty) – 1 pair (to protect your hands from sap and thorns)
- ● Long-sleeved clothing – 1 set (for skin protection)
- ● Garden fork or dandelion digger – 1 (for deep root extraction)
- ● Garden shears or pruners – 1 pair (for cutting stubborn stems)
- ● Heavy-duty trash bags – 2-3 (for disposal of pulled weeds)
- ● Cardboard or thick mulch (e.g., straw, wood chips) – Enough to cover the infested area (at least 2-3 inches thick)
- ● Water source (hose or watering can) – For post-treatment hydration
- ○ Vinegar (20-30% acetic acid) – 1 gallon (optional but effective for spot treatment)
- ○ Dish soap (optional) – 1 tbsp (to help vinegar stick to leaves)
- ● Wheelbarrow or bucket – For hauling debris
- ● Kneeling pad – For comfort during long sessions
- ● Spray bottle – For vinegar-soap mix application
- ● Soil solarizer (clear plastic sheeting) – To smother regrowth in severe cases
Step-by-Step instructions for eradicating creeping buttercup naturally
This method works by starving the roots and preventing regrowth—no harsh chemicals needed.
Identify and Mark the Infestation Area
Walk your yard and locate every creeping buttercup plant. These weeds have bright yellow flowers and spread through underground runners. Use a garden hose to outline the entire affected area—this helps visualize the full scope. I like to sketch a rough map on paper, marking where the plants cluster thickest and where they creep along paths or lawn edges. This step is critical because missing even one root fragment means the buttercup will return.
Look for the small, jagged leaves that form in a rosette pattern close to the ground. These plants can spread aggressively, so don’t rush—take your time to spot every plant. If you’re unsure whether a plant is creeping buttercup, snap off a leaf and rub it between your fingers. The milky sap is a dead giveaway. Once you’ve identified the entire area, gather your tools and get ready to tackle it systematically.
Pull the Plants by Hand at the Right Time
The best time to pull creeping buttercup is after a good rain or when the soil is moist—this makes the roots easier to remove intact. Grab the plant at its base, just above the soil line, and pull firmly upward. You’ll feel resistance as you work your way down to the roots. I find it helpful to wear gardening gloves to protect my hands from the sap, which can cause skin irritation. If the plant resists, use a garden fork to loosen the soil around it before pulling again.
Never leave any part of the plant behind, especially the roots. Even a small fragment can regrow into a new plant. Focus on pulling the entire plant, including the underground runners. If you’re working in a large area, consider dividing the task into sections to avoid fatigue. Once you’ve pulled all the plants, dispose of them immediately in a sealed trash bag. Never compost these weeds—they’ll just spread further.
Smother the Soil to Starve Remaining Roots
After removing the visible plants, cover the entire infested area with thick layers of cardboard or newspaper. Overlap the edges to create a continuous barrier—this prevents sunlight from reaching any remaining roots or seeds. Wet the cardboard thoroughly before placing it down to help it stick to the soil and break down faster. I like to secure the edges with rocks or bricks to keep it in place, especially in windy areas.
Next, add a thick layer of organic mulch, like 3-4 inches of wood chips or straw, on top of the cardboard. This keeps the soil moist and blocks out light completely, which is essential for starving any hidden roots. Water the mulch lightly to help it settle and maintain moisture. Check the area periodically—if you notice any new buttercup growth poking through, remove it immediately and add more mulch. This step is all about patience; it can take several months for the roots to fully decompose.
Monitor and Maintain the Treated Area
Over the next 6-12 months, keep the mulch layer thick and moist. Avoid disturbing the area—no tilling or digging, as this can bring buried root fragments to the surface. Instead, add more mulch as needed to maintain the 3-4 inch depth. You’ll know the method is working when you see no new buttercup plants emerging. If you do spot any, pull them immediately and smother the spot again with fresh mulch.
Once you’ve gone at least a full year without seeing any new growth, you can gradually remove the mulch and replace it with grass seed or ground cover plants. Start by pulling back a small section of mulch, checking for any signs of regrowth, and then carefully removing the rest. If the area stays clear for another season, you can safely reintroduce plants or reseed the lawn. This method is labor-intensive but far more effective—and safer—than chemical treatments.
Tips & tricks for eradicating creeping buttercup naturally
Here's what nobody tells you—the details that make this method actually work the first time.
Timing is Everything: In Step 2, when you're pulling plants, focus on timing after rain or when soil is moist. This isn't just about convenience—wet soil helps you extract the complete root system without breaking it. I've seen people miss 80% of the root network because they tried during dry conditions. If you must work when soil is dry, water the area thoroughly 24 hours beforehand to soften the roots.
The Visual Inspection Trick: During Step 1, when identifying plants, look for the characteristic rosette pattern of leaves. But here's the secret: snap off a leaf and rub it between your fingers. The milky sap that appears confirms it's creeping buttercup—no other common weed has this trait. This simple test saves hours of unnecessary digging in uninfected areas.
Layering Matters: In Step 3, when smothering with cardboard and mulch, make sure the cardboard layers overlap by at least 2 inches. I've seen gaps where sunlight sneaks through, allowing new shoots to emerge. For extra insurance, add a second layer of cardboard if your area receives strong sunlight. This double barrier creates a complete light-blocking system that works even in sunny climates.
Patience Pays Off: The 6-12 month timeline in Step 4 might seem long, but this is where most people fail. I've seen gardeners remove mulch too soon and watch buttercups return within weeks. Mark your calendar when you first apply the mulch and set reminders to check for new growth every 2-3 weeks. The first year is critical—don't rush the process.
Pro Tips for Get Rid Of Creeping Buttercup Naturally
- Here's what nobody tells you—the details that make this method actually work the first time.
- Timing is Everything: In Step 2, when you're pulling plants, focus on timing after rain or when soil is moist. This i...
- The Visual Inspection Trick: During Step 1, when identifying plants, look for the characteristic rosette pattern of l...
Frequently asked questions
about tackling creeping buttercup naturally—get the clarity you need before diving in!How soon will I see results after using the pull-and-smother method?
The pull-and-smother method works best with consistent effort. You’ll start seeing visible reductions in 2–4 weeks, but full eradication (especially of roots) can take 3–6 months of diligent maintenance. Patience is key—reapply mulch or cardboard as needed!
Is vinegar or boiling water a better alternative to smothering?
Both vinegar (20% acetic acid) and boiling water can kill buttercup foliage, but they’re less effective for roots. Vinegar works fast (1–2 days) but may harm nearby plants, while boiling water is precise but labor-intensive. For long-term control, smothering is the gold standard!
Will creeping buttercup grow back if I miss a spot?
Absolutely!
Even a tiny root fragment can regrow into a full plant. Double-check your area for any remaining stems or roots, and reapply mulch or cardboard to smother hidden survivors. A follow-up inspection in 2 weeks helps catch stragglers early.
Can I use this method in my vegetable garden without harming crops?
Yes, but with caution! Use cardboard or thick mulch (not plastic) to smother buttercups near veggies. Avoid vinegar or boiling water near edible plants. Pull weeds by hand when they’re small, and monitor soil health—creeping buttercup thrives in disturbed ground.
What if the buttercup keeps coming back after I’ve treated the area?
Persistent regrowth often means roots or seeds remain in the soil. Dig deeper (6+ inches) to uncover hidden roots, or apply a pre-emergent herbicide (like corn gluten meal) in early spring to block new seedlings. For stubborn patches, repeat smothering annually for 2–3 years.
Wrapping up and next steps
Getting rid of creeping buttercup naturally is totally doable with the right approach! By combining consistent pulling and smothering techniques, you can starve out those stubborn roots without harsh chemicals. Stay patient—persistent effort will pay off, and soon your garden will be free of these pesky invaders. 🌱
Ready to reclaim your space? Start by monitoring treated areas for regrowth and repeat the process as needed. With time, your garden will thrive—naturally and beautifully!