
How To
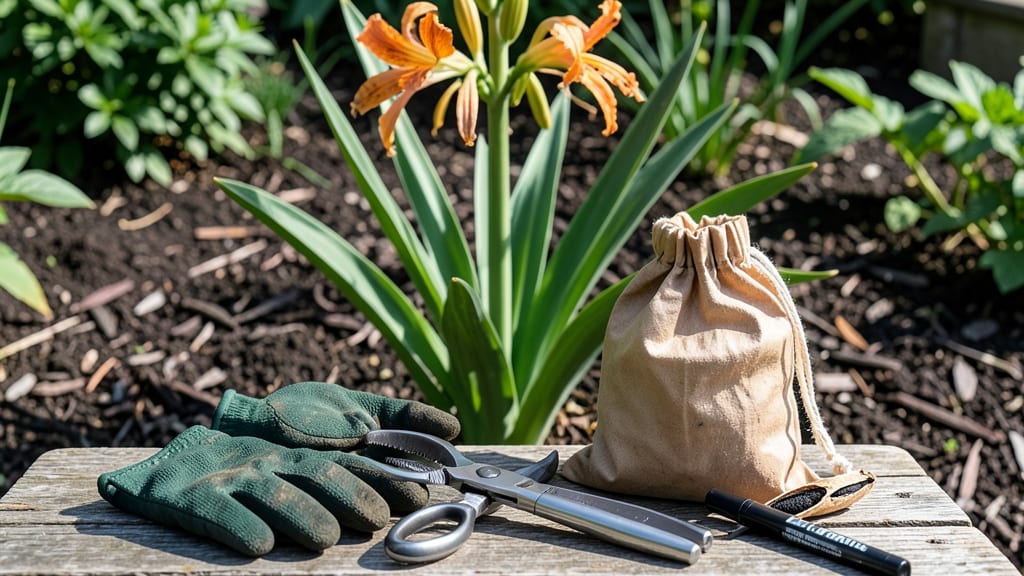
There’s nothing quite like watching a Tiger Lily 🌸 transform from a vibrant bloom into a seed pod—but if you know how to harvest tiger lily seeds, those pods hold the secret to growing more of these striking flowers.
Most gardeners miss the perfect window because they don’t recognize the subtle cues that signal readiness. The pods start green but mature into a dry, brown husk that splits open naturally—this is your golden moment.
Skip this step, and you might end up with seeds that won’t sprout, or worse, lose them entirely to birds or wind.
In this guide, I’ll walk you through the exact signs to look for—like the brittle texture and brown color of the pods—and how to collect seeds without damaging the plant. You’ll also discover the best storage tricks to beat dormancy and ensure your next batch of Tiger Lilies thrives.
Whether you’re a seasoned gardener or just starting, these tips will turn your seed harvest from a gamble into a guaranteed success. Let’s get those pods before they crack open on their own!


When to harvest tiger lily seeds: identifying the perfect ripeness stage
Harvesting tiger lily seeds at the right moment ensures you get viable, healthy seeds for future planting. The key is waiting until the seed pods mature fully—but not so long that they split open naturally and scatter seeds everywhere.
This delicate window typically falls in late summer to early fall, around August to September, depending on your USDA hardiness zone.
Start by watching your tiger lily blooms closely after they wilt. Once the flower petals drop, the seed pods begin hardening. Initially, they’ll be green and firm, but as they mature, they’ll turn a uniform brown color and feel dry and papery to the touch.
This is your first sign that the seeds inside are ready for harvest.
Visual cues are critical here. Look for brittle pods that rattle when shaken—this indicates fully developed seeds inside. If you gently squeeze the pod and it cracks or splits open, the seeds are likely mature and ready to collect. However, if the pod is still green or partially brown, it’s not yet time to harvest.
| Stage | Pod Color | Texture | Seed Readiness | Action |
|---|---|---|---|---|
| Early Development | Green | Firm | Not ready | Wait |
| Mid-Maturity | Brownish-green | Slightly dry | Developing | Monitor |
| Fully Mature | Uniform brown | Brittle, dry | Ready to harvest | Collect seeds |
🌱 Pro Tip: Harvest on a dry day to prevent moisture from damaging seeds.
Timing is everything when it comes to tiger lily seed collection. If you harvest too early, the seeds may not be fully developed and won’t germinate.
On the other hand, if you wait too long, the pods will split open naturally, releasing seeds into the soil and making them difficult to collect. Aim to harvest when the pods are brown and dry but still intact.
Another useful trick is to shake the pods gently over a piece of paper or tray. If seeds fall out easily and are dark brown and plump, they’re ready.
If they’re light-colored or shriveled, they’re not viable yet. This quick test helps you confirm readiness without damaging the plant.
Keep in mind that tiger lilies thrive in full sun, and their seed production is directly tied to how well they’ve been cared for throughout the growing season.
Ensure your plants received adequate sunlight (6+ hours daily), well-draining soil, and regular watering (deep soaks weekly) to maximize seed quality. Neglecting these care factors can result in smaller or fewer seeds.
Once you’ve confirmed the pods are ready, act quickly. Morning harvests are ideal because the dew has dried and the pods are less likely to be damp. Use a clean pair of pruning shears or your hands to snip or gently twist the pods from the stem.
Place them in a paper bag or envelope to allow them to dry further before processing.
If you miss the harvest window and the pods split open naturally, don’t despair. You can still collect seeds from the ground or surrounding soil, but be sure to clean them thoroughly to remove dirt and debris.
Store them in a cool, dry place until you’re ready to plant them.
Understanding the maturity stages of tiger lily seed pods ensures you’ll have a successful harvest every time. With patience and attention to detail, you’ll be well on your way to growing new tiger lilies from seed in no time. 🌿
Step-by-step process for collecting tiger lily seeds without damaging plants
Once you've spotted those perfectly mature seed pods on your tiger lilies, it's time to harvest with care. The key is to remove the pods before they split open on their own, which usually happens in late summer to early fall (August-September).
Use clean, sharp pruning shears to snip the stem just above the pod—this prevents damage to the plant's foliage.
Gently place the harvested pods in a well-ventilated paper bag or mesh container. Avoid plastic bags, as they trap moisture and can cause mold. Label each bag with the harvest date and variety if you're working with multiple types.
This simple step ensures you don’t mix seeds and can track their viability later.
- 1. Wait for pods to turn uniformly brown and dry (🟤)
- 2. Use pruning shears to cut stems 1 inch below pods
- 3. Place pods in paper bags for ventilation
- 4. Label bags with date and variety
- 5. Dry pods in a shady, dry location for 1-2 weeks
- 6. Gently crush pods to release dark brown seeds
After harvesting, let the pods dry in a cool, dry place for 1-2 weeks. Choose a spot with indirect sunlight and good airflow, like a covered porch or garage.
Avoid direct sunlight, which can over-dry the seeds and reduce their viability. Once the pods are completely dry, they’ll crack open easily when squeezed gently between your fingers.
To extract the seeds, place dried pods in a clean cloth or paper towel and gently rub or crush them. The dark brown, plump seeds will spill out, while empty husks and debris can be discarded.
Sift the seeds through a fine mesh screen if needed to separate them from chaff. This step ensures you’re only storing the highest-quality seeds for planting.
Store the harvested seeds in a paper envelope or breathable container with a silica gel packet to absorb excess moisture. Keep them in a cool, dark place (like a seed vault or refrigerator) for up to 2 years.
Proper storage prevents mold and maintains seed viability, so your future tiger lilies will have the best start possible.
If you notice any moldy or shriveled seeds during storage, remove them immediately. Discard seeds that feel soft or have an off odor, as these won’t germinate well. With this careful approach, you’ll maximize your seed yield and ensure your next batch of tiger lilies thrives from day one!