
How To
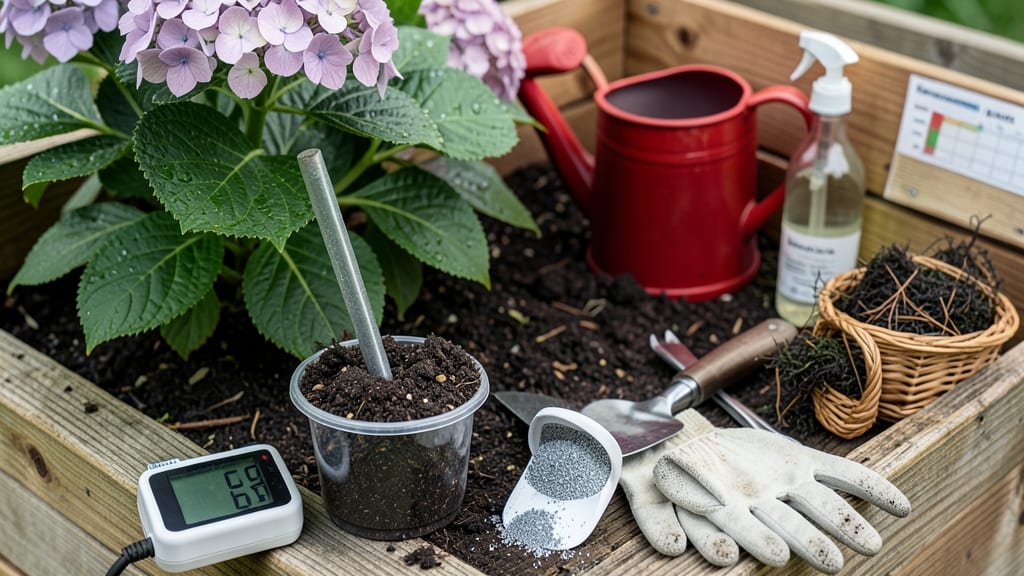
How to test and lower soil pH for hydrangeas: a science-backed approach
If your hydrangeas are stubbornly refusing to turn blue, your soil’s pH level is likely the culprit. Most hydrangeas thrive in acidic soil with a pH between 4.5 and 5.5 for those coveted blue blooms.
Testing your soil first saves time and prevents over-acidification, which can harm roots. Let’s dive into the science and steps to get your hydrangeas blooming in the right hue.
Before making changes, grab a soil pH test kit (available at garden centers or online). These kits are affordable and provide quick results. Simply collect soil samples from 6 inches deep around your hydrangeas, mix them with distilled water, and follow the kit’s instructions.
If your pH reads above 6.0, your hydrangeas won’t turn blue—it’s time to acidify!
Now, let’s explore the most effective ways to lower your soil’s pH. The best method depends on your soil type—sandy soil responds faster to amendments than clay soil.
For immediate results, elemental sulfur is the gold standard. It takes 2-3 months to fully acidify the soil, making it ideal for long-term adjustments.
Here’s a quick comparison of the top methods to lower pH for hydrangeas, tailored to your garden’s needs:
| Method | Application Rate | Time to Take Effect | Best For |
|---|---|---|---|
| Elemental Sulfur | 1 lb per 100 sq ft (for pH 6.0-6.5) | 2-3 months | Long-term acidification |
| Aluminum Sulfate | 5 lbs per 100 sq ft (for pH 6.5-7.0) | 1-2 months | Quick fixes (use sparingly) |
| Peat Moss | 2-3 inches mixed into top 6 inches of soil | 1-2 months | Organic gardens, container plants |
| Pine Needles | 2-3 inches as mulch | 3-6 months | Natural, slow-release acidity |
| Coffee Grounds | 1 cup per plant every 2 months | 1-2 months | Quick top-dressing for potted hydrangeas |
For elemental sulfur, apply it in early spring or fall when the soil is moist. Work it into the top 6 inches of soil around your hydrangeas.
If you’re using peat moss, mix it into the soil during planting or top-dress annually. This method is perfect for container gardens or newly planted hydrangeas.
Timing is everything! Apply amendments 3-4 months before your hydrangeas bloom to give the soil time to adjust. For example, if your hydrangeas flower in June, start lowering the pH in March. Avoid applying amendments in drought conditions, as dry soil slows the acidification process.
After applying your chosen amendment, re-test the soil pH in 2-3 months. Aim for a pH between 4.5 and 5.5 for blue blooms. If your hydrangeas are in containers, flush the soil with water every 3-4 months to prevent salt buildup from sulfur or aluminum sulfate.
Remember, over-acidifying your soil can harm your hydrangeas by making nutrients like phosphorus and calcium unavailable. Always monitor and adjust gradually. With patience and the right approach, your hydrangeas will reward you with vibrant blue blooms year after year.
Once you’ve mastered the science, explore organic methods like pine needles or coffee grounds for a gentler, long-term solution. The key is consistency—your hydrangeas will thank you for it!
Top 5 organic methods to acidify soil for hydrangeas (without chemicals)
Want to turn your hydrangeas blue without harsh chemicals? Organic methods are safer for your plants and the environment. These natural amendments gradually lower soil pH while improving soil health. Start with these top 5 organic solutions—each works differently but delivers stunning results.
First, try pine needles—they’re acidic and easy to find. Spread a thick layer (about 2-3 inches) around your hydrangeas in early spring. As they decompose, they’ll slowly acidify the soil. This method is perfect for container gardens or in-ground plantings.
Next up: coffee grounds. Use used grounds from your morning brew—just mix 1-2 cups into the top 6 inches of soil per plant. Coffee grounds are rich in nitrogen and add acidity over time. For best results, reapply every few weeks during the growing season.
Don’t overlook peat moss, a classic organic amendment. Work 1-2 inches into the soil around your hydrangeas in early spring. It holds moisture and acidifies soil over time. Pair it with compost for balanced nutrition.
For a quick fix, use vinegar solutions. Mix 1 cup white vinegar with 1 gallon of water and spray directly on the soil (avoid leaves). Repeat every 2-3 weeks until you see color changes. This works fast but requires consistent application.
Finally, composted leaves or leaf mold are excellent long-term options. They’re free if you rake up fallen leaves! Spread a 1-inch layer around your plants in fall or early spring. Over time, they’ll break down and acidify the soil naturally.
Spread 2-3 inches around plants in spring. Decomposes slowly, adding acidity.
Mix 1-2 cups into soil per plant. Reapply every few weeks for quick acidity.
Work 1-2 inches into soil in spring. Improves moisture retention and acidity.
Spray 1:1 vinegar-water mix on soil every 2-3 weeks. Fast but requires consistency.
Spread 1-inch layer in fall or spring. Slow-release acidity over time.
Pro tip: Mulch with pine bark or wood chips to maintain acidity between treatments. This keeps your soil healthy and your hydrangeas happy all season long. 🌸