
Companion Plants
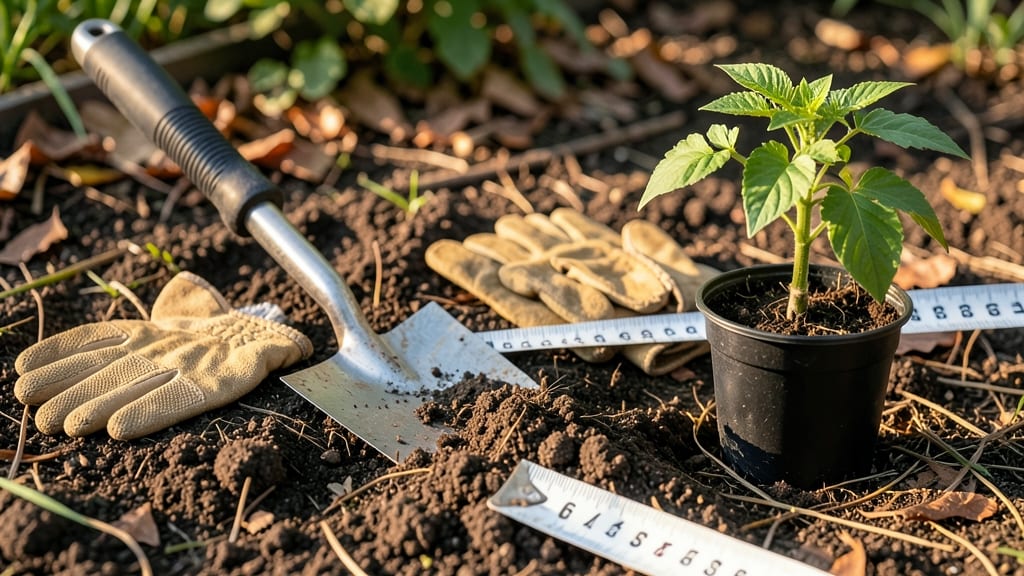
Digging holes feels like the most basic gardening step—until you realize how much can go wrong. 🌱 I’ve watched perfectly good plants struggle because the hole was too shallow, too wide, or packed with compacted soil.
The right hole makes all the difference between a thriving garden and a sad, struggling plant.
Start with the right tools: a shovel for most plants, a digging bar for stubborn soil, and your hands for the final touches. Depth matters—roots need room to spread, not just sink. For perennials, dig twice as wide as the root ball and 1-2 inches deeper than the container.
Trees and shrubs need even more space, while flowers can be cozier but still need proper drainage.
Loosen the sides of the hole so roots can explore, and avoid packing the soil back in too tightly. The goal is to mimic natural soil conditions, not create a cement prison.
After planting, water deeply to settle the roots and remove air pockets. This simple step cuts down on transplant shock and sets your plants up for success.
Common mistakes? Skipping soil prep, ignoring root ball size, or digging in hardpan without amending the soil. Pro tip: mix in compost or aged manure at the bottom of the hole for a nutrient boost. The right hole isn’t just about space—it’s about giving roots the perfect start.
📚 In This Guide
- What you need
- Instructions
- Tips and common mistakes
- Wrapping up and next steps
What you need
- ● Shovel or Spading Fork: For small plants: A round-point shovel (12–18 inches wide) works best for precision.
- ● For larger plants/trees: A digging spade (16–24 inches) or a mattress fork (for breaking up tough soil).
- ● Measuring Tape or Ruler: Flexible tape (3–6 feet) for depth and spacing checks.
- ● Or a planting depth gauge (if you’re a perfectionist!).
- ● Garden Gloves: Heavy-duty, waterproof gloves (to protect your hands from thorns, dirt, and blisters).
- ● Wheelbarrow or Bucket: At least a 5-gallon capacity for hauling soil, compost, or amendments.
- ● Compost or Soil Amendments: Organic matter like compost, peat moss, or coconut coir (1–2 bags, depending on hole size).
- ● Watering Can or Hose: With a gentle spray nozzle for post-planting hydration.
- ● Post-Hole Digger: For stubborn clay soil or planting stakes.
- ● Knee Pads: Because gardening is a workout—protect those joints! 💪
- ● Soil pH Test Kit: If your plants are picky (e.g., blueberries need acidic soil).
- ● Mulch: Shredded bark or straw (to retain moisture and suppress weeds).
- ● Stakes & Twine: For young trees or windy areas (3–4 feet tall).
- ● Safety Gear: Goggles (if digging near rocks) and earplugs (for noisy power tools).
Step-by-step instructions for digging plant holes like a pro
Perfect holes mean strong roots and happy plants—here’s how to do it right every time.
🪴 Step 1: Measure Hole Depth and Spacing
Dig holes 2-3 times wider than the root ball to give roots room to spread. Depth should match the plant’s container height—if it’s in a 6-inch pot, dig a 6-inch deep hole. For bare-root plants, dig 1-2 inches deeper than the roots to encourage downward growth. I always mark the depth with a stick or trowel handle to avoid guessing.
Spacing depends on plant type. Check the tag or research mature width—3-6 feet apart for shrubs, 18-24 inches for herbs, and 12-18 inches for veggies. Crowding leads to competition, while over-spreading wastes space. For a quick check, imagine the plant’s mature shape—roots need room to stretch out.
🌱 Step 2: Loosen Soil and Remove Obstacles
Use a garden fork or trowel to loosen the soil 12-18 inches deep around the hole. Compacted soil restricts roots, so I always break up clumps with my fingers or the fork’s tines. Remove any rocks, roots, or debris—even small pebbles can damage tender roots during planting.
For heavy clay soil, add 1-2 inches of compost to the bottom of the hole. Mix it with the native soil to improve drainage and aeration. If your soil is sandy, skip this step—it drains too well and needs organic matter instead. The goal is a loose, crumbly mix that roots can easily penetrate.
☀️ Step 3: Dig the Hole and Test Moisture
Dig the hole slightly deeper than planned, then backfill with native soil until it reaches the correct depth. This prevents settling later. Press down gently on the sides to create a firm but not compacted edge—roots will anchor here. I like to add a 1-inch layer of compost at the bottom for nutrients, especially for hungry plants like tomatoes or peppers.
Check moisture by squeezing a handful of soil. It should hold together but not be soggy. If it’s dry, water the hole 1-2 days before planting to let the soil absorb moisture evenly. Overwatering now can cause the hole to collapse or create a muddy mess. Aim for soil that’s damp but not dripping—this ensures roots get a drink without drowning.
✂️ Step 4: Prepare for Planting
Place the plant in the hole and adjust depth so the top of the root ball sits level with the surrounding soil. For container-grown plants, the soil line should match the pot’s original level. If planting bare-root, spread roots outward gently—don’t bend them sharply. Fill the hole one-third full with soil, then water deeply to settle it.
This step prevents air pockets and ensures roots make contact with soil immediately. After watering, top off the hole with more soil, pressing lightly to eliminate gaps. For large plants, I use my hands to firm the soil gently—too much pressure can compact it and suffocate roots. A lightly patted hole lets air and water reach the roots without resistance.
⏰ Step 5: Final Checks Before Planting
Step back and inspect the hole. The sides should be smooth and vertical, not ragged. If they’re crumbling, reinforce them with a trowel or gloved hand to prevent soil from slumping later. For slopes or windy areas, dig a slight trench around the hole’s edge to catch runoff and keep soil in place.
Now’s the time to add slow-release fertilizer or mycorrhizal fungi (if your plants need it) to the bottom. Water the hole again if the soil feels dry, then you’re ready to plant. Pro tip: Label the hole with the plant’s name and date—you’ll thank yourself later when you forget which hole is which in a sea of green!
Tips & tricks for perfect plant hole digging
A few simple tricks will help you create ideal planting conditions that set your plants up for success from day one.
Depth Visualization: For container-grown plants, use the pot itself as your guide—hold it next to the hole to verify the depth matches the pot's height. For bare-root plants, gently spread the roots to visualize their natural spread, then dig 1-2 inches deeper than the longest roots. This encourages downward growth and prevents roots from circling at the planting depth.
Soil Prep Strategy: In Step 2, when loosening soil, focus on creating a spoon-shaped depression rather than a perfect hole. This natural shape helps roots spread outward more easily. For heavy clay soil, mix the 1-2 inches of compost thoroughly with the native soil—don't just add it as a layer. The goal is to create a uniform, crumbly texture throughout the planting zone.
Moisture Test: The damp-but-not-dripping soil test in Step 3 is crucial. Here's how to perfect it: squeeze a handful of soil firmly—it should hold together when released but not leave water dripping from your fingers. If it crumbles completely, add a little water; if it stays too wet, mix in some dry soil or compost to improve drainage. This balance ensures roots get proper hydration without sitting in soggy conditions.
Planting Depth Secret: When positioning your plant in Step 4, use your finger to create a small dimple where the root ball meets the soil. This tiny indentation helps you verify the top of the root ball sits perfectly level with the surrounding soil. For container plants, the soil line should match the pot's original level—this prevents stem rot from burying the base while ensuring roots have access to moisture.
Pro Tips for Dig Holes For Plants
- A few simple tricks will help you create ideal planting conditions that set your plants up for success from day one.
- Depth Visualization: For container-grown plants, use the pot itself as your guide—hold it next to the hole to verify the depth matches the pot's height.
- Soil Prep Strategy: In Step 2, when loosening soil, focus on creating a spoon-shaped depression rather than a perfect hole.
Frequently asked questions
Got questions about digging holes like a pro? You’re in the right place! Here are the most common concerns—plus clear, actionable answers to keep your garden thriving.
What’s the best depth for planting holes?
The general rule is to dig holes twice as wide as the root ball and as deep as the plant’s container (or its root flare if bare-root). For example, a 1-gallon plant needs a 12-inch-deep hole. Always check the plant tag—some, like tomatoes, need deeper holes for support!
When is the best time to dig holes for spring planting?
Dig holes 2–4 weeks before planting to let soil settle and improve drainage. In cold climates, wait until the ground thaws (test with your finger—if it’s firm, it’s ready!). Avoid digging in heavy rain or freezing temps, as compacted soil can stunt roots.
Can I reuse old planting holes for new plants?
Yes, but only if the soil is loose and nutrient-rich. Refresh the hole by mixing in compost or aged manure. Avoid reusing holes for the same plant family (e.g., tomatoes after tomatoes) to prevent disease buildup. A quick soil test can help spot deficiencies!
What if my shovel keeps hitting rocks or roots?
Use a digging bar or matlock to pry rocks out gently—never force it! For roots, trim them carefully with pruners and amend the soil with compost. If you hit hardpan (compacted soil), break it up with a pickaxe or rent a soil aerator for larger areas.
Do I need to fertilize the hole before planting?
Not always! For most plants, a handful of slow-release fertilizer (like 10-10-10) or compost mixed into the bottom of the hole is enough. Heavy feeders (e.g., peppers, berries) may need extra phosphorus or potassium. Avoid fresh manure—it can burn roots!
Wrapping up and next steps
Digging the perfect holes for your plants is the foundation of a thriving garden—deep enough for roots, spaced just right for growth, and prepped with care. Whether you’re planting companion pairs or solo stars, remember: patience and precision pay off in lush, healthy blooms.
Now that you’ve mastered depth, spacing, and soil prep, it’s time to roll up your sleeves and get planting!
🌱 Next step: Grab your tools, pick your plants, and start digging—your garden’s future starts with every hole you make. Happy planting! 🌿