
Pests
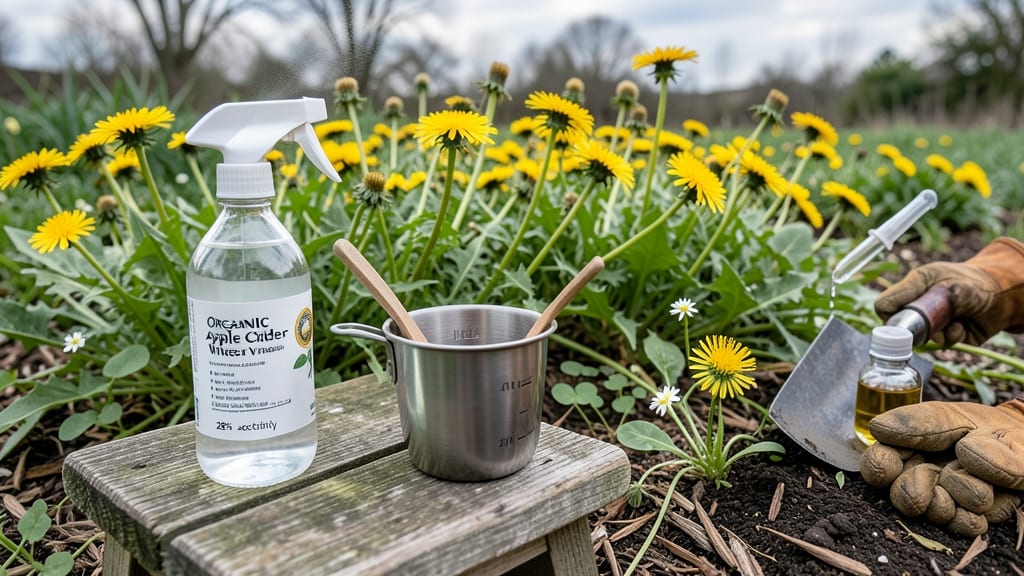
How to get rid of weeds using vinegar—that stubborn patch of weeds in your garden path? Vinegar cuts them down to the roots—in just 24-48 hours. 🌱 I’ve used this method for years to clear driveways, sidewalks, and even between paving stones without breaking a sweat. The key? Getting the concentration and application just right to avoid killing your prized plants. You’ll need white vinegar (5-20% acetic acid), a spray bottle, dish soap (as a surfactant), and a sunny day for best results. The higher the acidity, the faster it works—but too much can damage nearby soil. I start with 10% vinegar for most weeds, then adjust based on their toughness. A few drops of dish soap help the spray stick to those pesky leaves. By midday, you’ll see the weeds wilting and turning crispy. The roots dissolve within days, leaving your soil (and your back) weed-free. It’s not a magic bullet—you’ll need to reapply for new sprouts—but it’s the fastest organic solution I’ve found that actually works. For long-term success, pair this with mulching or landscape fabric to block sunlight from weed seeds. And always spot-test on a small area first—some plants (like clover) can handle vinegar, but others? Not so much. Ready to reclaim your garden? Let’s get started.
📚 In This Guide
- What you need
- Instructions
- Tips and common mistakes
- Wrapping up and next steps
What you need
- ● White vinegar (5% to 20% acetic acid) – 1 gallon (3.8 liters) per large area or 1 quart (0.95 liters) for small patches. Higher acidity (20-30%) works faster but may require dilution.
- ● Spray bottle or garden sprayer – A 1-gallon pump sprayer (for large areas) or a 16-ounce handheld spray bottle (for precision targeting). Choose one with a fine mist nozzle for even coverage.
- ● Water – 1 part vinegar to 1 part water (adjust ratio based on vinegar strength; pure vinegar is harsher but faster).
- ● Protective gear: Gloves (nitrile or rubber)
- ● Eye protection (safety goggles)
- ● Long sleeves and pants (to avoid skin irritation)
- ● Labels or markers – To mark treated areas (vinegar kills plants it touches, including desirable ones!).
- ● Garden hose with a spray nozzle – For rinsing or diluting vinegar on windy days.
- ● Plastic sheeting or cardboard – To shield nearby plants or soil from accidental vinegar splashes.
- ● Measuring cup or scale – For precise vinegar-to-water ratios if using concentrated solutions.
- ● Garden twine or stakes – To outline treatment zones and avoid drift.
- ○ Natural soap (1 tsp per gallon) – Acts as a surfactant to help the vinegar stick to weeds (optional but improves effectiveness).
Step-by-Step instructions for targeted vinegar weed killer
Here’s my no-fuss method for eradicating weeds—no digging, no harsh chemicals, just a potent spray that works in days.
💧 Step 1: Choose the Right Vinegar for Maximum Effect
Grab undiluted white vinegar with at least 20% acetic acid—the higher the concentration, the faster the results. Avoid apple cider or balsamic vinegar; they’re too weak to dissolve roots. I like to use household white vinegar (5% acid) for smaller weeds and commercial-grade vinegar (20-30% acid) for stubborn patches. Check the label to confirm the acidity level before you start.
This is the moment that matters: the stronger the vinegar, the quicker the kill, but it also means you’ll need to be more precise with application. If you’re using 5% vinegar, expect results in 3-7 days; with 20% or higher, weeds typically crisp up in 1-3 days. Store your vinegar in a cool, dark place—light breaks down the acidity over time.
🌱 Step 2: Prep the Weeds for Targeted Treatment
Pick a sunny, dry day—this ensures the vinegar works at its full strength without rain washing it away. Pull any large weeds with deep roots by hand first; vinegar won’t reach those buried roots effectively. For smaller weeds, leave them intact—you want the foliage to absorb the vinegar and carry it down to the roots. Avoid spraying on windy days; you’ll end up killing your plants instead of the weeds.
Here’s the thing—timing is everything. Wait until weeds are fully emerged but before they flower. Flowering weeds are tougher to kill and may even regrow from seed. Trim back any thick weed stems with scissors or pruners to expose fresh growth—this ensures the vinegar penetrates deeper. I like to work in small sections, like a 2-foot by 2-foot grid, so I don’t miss any spots.
✂️ Step 3: Mix and Apply the Spray Directly
Fill a spray bottle (preferably with a fine mist nozzle) with your chosen vinegar. For extra effectiveness, add 1 tablespoon of dish soap per gallon of vinegar—this helps the solution cling to the weeds instead of beading up and rolling off. Shake gently to combine. The soap breaks the surface tension of the vinegar, allowing it to stick and soak in.
Spray only the weeds, avoiding your plants, lawn, or desirable foliage. Vinegar is non-selective, so aim for the leaves and stems—the more surface area covered, the faster the weed dies. You’ll see immediate results on the foliage: leaves will curl, brown, and wilt within hours. Don’t worry if it looks dramatic; this is how you know it’s working. Reapply every 2-3 days until the weeds are completely dead and pulled up easily.
☀️ Step 4: Monitor and Remove Dead Weeds
After 3-7 days, the weeds should be soft, brown, and easy to pull. Use a hand trowel or your fingers to grasp the base and lift them out—roots should come up easily now. If any weeds resist, spray them again and wait another 24 hours. The key here is persistence; don’t let any weeds linger, or they’ll regrow from the root.
This is where most people mess up: they spray and forget. Weeds don’t disappear overnight—you’ve got to stay on top of it. I like to schedule a quick 10-minute weed check every few days to catch any survivors early. Once the area is clear, keep an eye out for new sprouts; vinegar is a preventative tool, not a one-time fix. For long-term control, consider mulching with straw or wood chips to block sunlight and prevent regrowth.
🌿 Step 5: Protect Your Plants and Soil
Vinegar is safe for the environment, but it’s not plant-friendly. If you’re treating weeds near your garden beds, cover nearby plants with cardboard or a tarp before spraying. Even a few drops of vinegar can burn leaves. After treatment, rinse the area with water to neutralize any stray vinegar that might have landed on soil or rocks.
Real talk: vinegar won’t kill weed seeds in the soil, so new weeds may pop up later. To minimize regrowth, water the area thoroughly after treatment—this helps flush out any remaining vinegar and encourages your lawn or garden plants to recover faster. If you’re dealing with a large weed patch, consider spot-treating instead of blanket spraying to avoid damaging your landscape.
Tips & tricks for perfect vinegar weed control
Don't let weeds win—these simple strategies will make your vinegar treatment even more effective.
The Acid Power: Vinegar's strength is all in the concentration—stick with the 20% or higher acidity for stubborn weeds, but even 5% works for smaller patches. I've found that reapplying every 2-3 days (as mentioned in Step 3) is where the magic happens. The repeated exposure ensures the vinegar reaches deeper into the roots over time. For best results, spray in the late afternoon when weeds are fully hydrated from morning dew.
Precision Application: Here's what nobody tells you—vinegar beading up on leaves means it's not working. That's why adding 1 tablespoon of dish soap per gallon (Step 3) is a game-changer. The soap breaks surface tension so the solution clings to foliage. I use a spray bottle with a fine mist nozzle to avoid overspray, and always test on a small weed first to see how it absorbs. You'll notice the leaves curl within hours if you've got good coverage.
Timing Secret: The 3-7 day window (Step 4) is when most people give up—don't! I've seen weeds that looked perfectly healthy after the first spray completely collapse by day 5. The key is patience: after your initial treatment, schedule quick 10-minute checks every few days to pull any weakened weeds. This prevents them from dropping seeds that could create new problems. For thick patches, work in your 2-foot by 2-foot grids (Step 2) to ensure thorough coverage.
Safety First: Vinegar won't discriminate—it'll kill anything it touches. I always keep a small spray bottle of water handy to immediately rinse any accidental splashes on desirable plants. For garden beds, lay down cardboard barriers around plants before spraying (Step 5). After treatment, give your soil a good rinse to prevent any lingering vinegar from affecting future plantings. This extra step has saved my hostas from accidental damage more times than I can count.
Pro Tips for Get Rid Of Weeds Using Vinegar
- Don't let weeds win—these simple strategies will make your vinegar treatment even more effective.
- The Acid Power: Vinegar's strength is all in the concentration—stick with the 20% or higher acidity for stubborn weeds, but even 5% works for smaller patches.
- Precision Application: Here's what nobody tells you—vinegar beading up on leaves means it's not working.
Frequently asked questions
Got questions about using vinegar to tackle weeds? You’re not alone—here are some of the most common concerns, answered clearly and simply!
Will vinegar kill my grass or plants?
Vinegar is highly acidic (pH ~2-3), so it’ll kill most plants it touches—including grass and flowers. To protect desired plants, spray vinegar only on weeds, avoid overspray, and use a targeted spray nozzle. For extra safety, apply vinegar on a windless day and spot-test in a hidden area first.
How long does it take for weeds to die?
Most weeds show signs of wilting within 24–48 hours, but full death (including roots) can take 3–7 days, depending on the weed type and vinegar strength. Repeat applications (every 3–5 days) may be needed for tough weeds like dandelions or crabgrass. Patience is key—don’t dig up the dead weed too soon!
Can I use regular vinegar, or do I need a special kind?
Yes, household white vinegar (5% acetic acid) works, but for faster results, opt for 20–30% horticultural vinegar (available at garden centers). If using white vinegar, mix it with water (1:1 ratio) to reduce acidity and improve coverage. Never use apple cider or balsamic vinegar—they’re too weak to kill weeds effectively.
What if vinegar doesn’t work on my weeds?
If weeds persist, try these troubleshooting steps:
- Reapply vinegar—sometimes one treatment isn’t enough.
- Check the vinegar concentration (higher = better for stubborn weeds).
- Add 1 tbsp dish soap per gallon to help the vinegar stick to leaves.
- For deep-rooted weeds, dig them out after 5–7 days when they’re soft.
Is vinegar safe to use in all weather?
Vinegar works best on bright, sunny days when weeds are actively growing. Avoid applying:
- Before heavy rain (it’ll wash away).
- In freezing temperatures (vinegar is less effective).
- On very hot days (can evaporate too quickly).
How often should I treat weeds with vinegar?
For new weeds, a single treatment may suffice, but for established weeds, reapply every 3–5 days until they’re fully dead. Once weeds are gone, monitor the area—new sprouts may appear, especially in spring or after rain. Preventative spraying (every 2–4 weeks) can help keep weeds at bay.
Wrapping up and next steps
Getting rid of weeds with vinegar is a simple, eco-friendly, and cost-effective solution that works fast—especially when you target the roots! Whether you’re tackling stubborn dandelions or pesky crabgrass, a few sprays of undiluted white vinegar can dissolve those unwanted plants in just days.
The best part? You’re avoiding harsh chemicals while keeping your garden thriving naturally. 🌱
Now that you’re armed with the know-how, grab that spray bottle and give your yard a fresh start! For extra stubborn weeds, repeat the process in a week or two—you’ve got this! 💪 Happy weeding!