
Landscaping
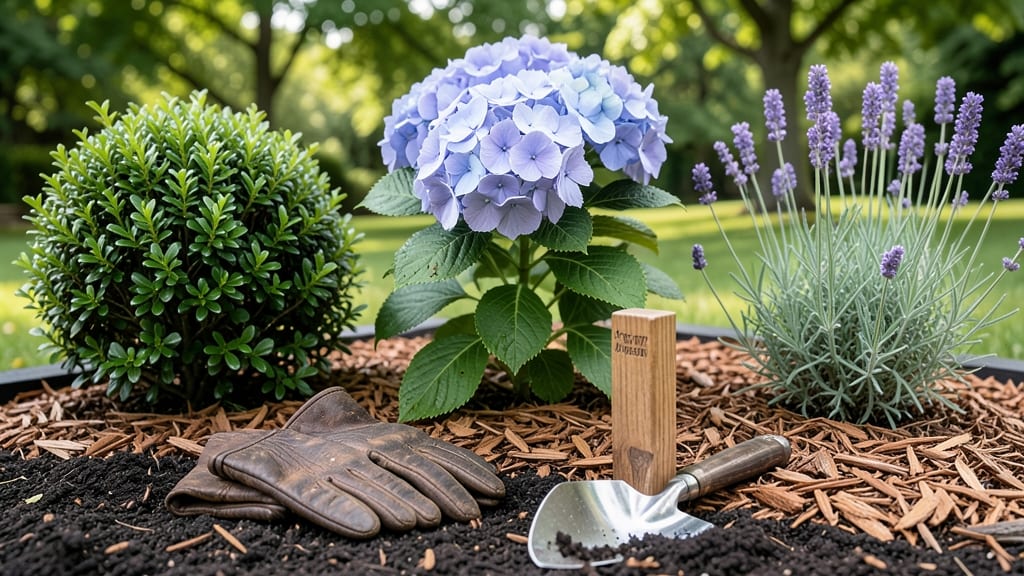
How to group plants in landscaping transforms a scattered garden into a cohesive masterpiece. ✨ I learned the hard way that throwing plants together randomly creates chaos—not harmony. The secret lies in layering heights, matching sunlight needs, and pairing plants that thrive together.
Start with a simple formula: tall plants at the back, medium in the middle, and low-growing at the front. Group plants with similar water needs together to save time and effort. My favorite combinations? Sun-loving lavender with drought-tolerant rosemary, or shade-friendly ferns with hostas.
You’ll end up with a garden that feels intentional, not accidental. The right groupings reduce maintenance, attract pollinators, and create stunning visual flow. Plus, functional zones—like a veggie patch next to a cutting garden—make life easier.
Works for any climate, from desert landscapes to rainforest gardens. Here’s how to avoid the most common mistakes and get it right the first time.
📚 In This Guide
- What you need
- Instructions
- Tips and common mistakes
- Wrapping up and next steps
What you need
- ● Plants: 3–5 types of plants (mix heights, textures, and colors for visual interest).
- ● Perennials (e.g., coneflowers, hostas) for long-term structure.
- ● Annuals (e.g., petunias, marigolds) for seasonal pops of color.
- ● Shrubs/Ornamental Grasses (e.g., boxwood, fountain grass) for depth.
- ● Soil & Amendments: Topsoil (1–2 cubic yards, depending on area).
- ● Compost or organic mulch (2–3 bags) for nutrient-rich soil.
- ● Slow-release fertilizer (e.g., 10-10-10 or organic options).
- ● Tools: Garden trowel or transplant spade (for precision planting).
- ● Pruners (bypass or anvil type for clean cuts).
- ● Measuring tape (10–25 ft) for spacing accuracy.
- ● Wheelbarrow (for hauling soil/mulch).
- ● Garden hose with adjustable nozzle (for watering).
- ● Mulch (pine straw, shredded bark) to retain moisture and suppress weeds.
- ● Landscape fabric (if planting in high-weed areas).
- ● Edging tools (metal or plastic) for clean borders.
- ● Decorative rocks or gravel (for contrast or pathways).
- ● Plant markers (stakes or labels) for tracking varieties.
- ● Knee pads or a small stool for comfort during long projects.
Tips & tricks for cohesive plant groupings in landscaping
Creating balanced plant groupings isn't just about aesthetics—it's about creating ecosystems that thrive. Here are my go-to strategies for designing landscapes that feel intentional and harmonious.
Visualize with Sketches: Before digging, sketch your layout to scale. I use graph paper to map out plant heights and mature spreads—this prevents overcrowding and helps you visualize seasonal changes. Mark sun exposure patterns and note where microclimates create hot or cool spots. This pre-planning saves hours of future adjustments and keeps your design cohesive from day one.
Layer by Height and Season: In Step 4, when layering for seasonal interest, I recommend adding a "middle layer" of plants that bridge the gap between tall and short varieties. For example, place 3-foot shrubs like potentilla between your 6-foot black-eyed Susans and creeping thyme. This creates visual flow and prevents that "empty middle" look. Also, include at least one evergreen in each group to maintain structure during winter months.
Soil Test Before Grouping: The most common mistake I see is grouping plants with conflicting soil needs. Before finalizing your design, conduct a simple soil test to identify pH levels and nutrient content. Adjust groupings based on these results—acid-loving plants like azaleas shouldn't share space with alkaline-tolerant lavender unless you're willing to amend the soil extensively. This small step prevents years of struggling plants.
Use Structural Plants as Anchors: When implementing the "Rule of Three" in Step 3, include at least one structural plant in each group to provide year-round interest. For example, pair 3 silver birch trees with 5 salvia plants and 7 ornamental grasses. The birch provides winter interest while the other plants offer seasonal color. This creates visual anchors that hold your design together through all four seasons.
Pro Tips for Group Plants Landscaping
- Creating balanced plant groupings isn't just about aesthetics—it's about creating ecosystems that thrive.
- Visualize with Sketches: Before digging, sketch your layout to scale.
- Layer by Height and Season: In Step 4, when layering for seasonal interest, I recommend adding a "middle layer" of plants that bridge the gap between tall and short varieties.
Frequently asked questions
Got questions about grouping plants in your landscaping? You’re not alone! Here are some of the most common concerns—and their easy, actionable answers—to help you design with confidence.
What’s the best way to group plants by size?
Start with tallest to shortest in the back, placing smaller plants or ground covers in front. This creates natural layers and prevents overcrowding. For example, place a 6-foot shrub behind a 3-foot bush, and add trailing plants like ferns or sedum at the base. Pro tip: Leave 12–18 inches of space between medium-sized plants to allow airflow and growth.
When is the ideal time to group plants in my landscape?
Spring or early fall are the best times—soil is workable, and plants are entering active growth (spring) or dormancy (fall). Avoid extreme heat or frost, which can stress newly planted groups. If you’re adding perennials, late summer (after flowering) gives them time to establish roots before winter.
Can I group plants with different water needs together?
Not ideal! Group plants with similar water requirements to simplify maintenance. For example, pair drought-tolerant succulents with lavender, and place thirsty hydrangeas near a drip irrigation line. Use mulch to retain moisture for high-need plants and gravel for succulents to reduce evaporation.
How do I fix overcrowded plant groups that look messy?
Start by pruning overgrown plants to open up space, then thin out the weakest or smallest specimens. Replace gaps with filler plants (like ornamental grasses or low-growing perennials) to maintain density. If roots are tangled, gently separate plants and replant with more spacing. Bonus: Add a layer of compost to boost recovery!
What’s a simple way to group plants for a cohesive look without a formal design?
Use the “odd-number rule”—group plants in threes or fives for a natural, balanced feel. Mix textures (e.g., spiky yucca + soft hostas) and repeat one or two standout plants (like a bold-colored salvia) throughout the space. This creates harmony without needing a rigid plan!
Wrapping up and next steps
Grouping plants in landscaping isn’t just about aesthetics—it’s about creating harmony, reducing maintenance, and letting nature shine! 🌿 By focusing on height, texture, color, and water needs, you’ll craft a cohesive outdoor space that thrives effortlessly.
Start small, experiment with combinations, and don’t forget to observe how your garden evolves over time.
Ready to transform your yard? Pick one plant grouping idea from this guide and sketch it out—then grab your tools and bring your vision to life! Every great landscape begins with a single step.