
Propagation
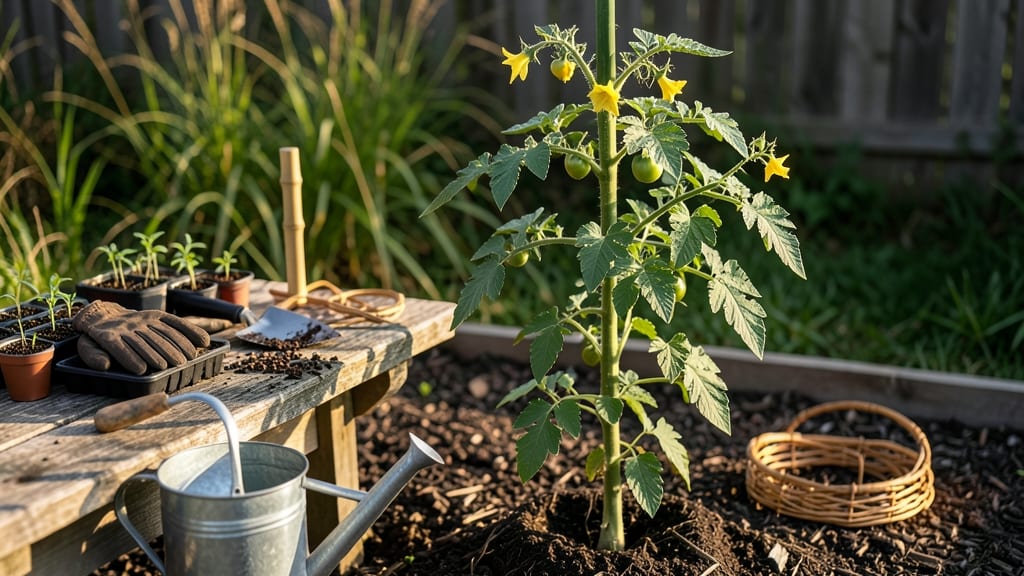
How to grow tomatoes from seed outdoors delivers that first ripe, sun-warmed bite in just 60 days. 🌱 I learned the hard way—skipping seed starting means missing out on heirloom varieties and the sheer joy of watching vines explode with fruit. The secret isn't complicated: timing, warmth, and a little patience turn tiny seeds into bushels of tomatoes.
You'll need basic supplies: seeds, seed-starting mix, small pots, and a sunny spot (or grow lights). Start seeds indoors 6-8 weeks before your last frost, then harden them off before transplanting.
Outdoor success hinges on soil temperature—wait until nighttime temps stay above 50°F—and full sun for at least 6-8 hours daily.
By midsummer, you'll be harvesting vibrant red (or yellow, purple, or striped) tomatoes straight from the vine. The key is consistent watering at the base, mulching to retain moisture, and pruning suckers early. Even in small spaces, a single plant can produce 20+ pounds of fruit with proper care.
Works for any climate—just adjust timing. Container growers can use 5-gallon buckets, while in-ground gardeners need 18-24 inches of space per plant. Here's how to turn seeds into a summer-long harvest without the store-bought compromise.
📚 In This Guide
- What you need
- Instructions
- Tips and common mistakes
- Wrapping up and next steps
What you need
- ● Tomato seeds: 1–2 packets of your favorite variety (heirloom, cherry, or beefsteak—pick your favorite!)
- ● Seed-starting trays or biodegradable pots: 12–24 small cells (2–3 inches deep) or 4-inch pots
- ● Seed-starting mix: 1 bag (lightweight, sterile, and well-draining—avoid garden soil!)
- ● Grow lights or a sunny windowsill: 6–8 hours of light daily (or a dedicated grow light for 12–16 hours)
- ● Spray bottle: 1 for gentle watering (avoid drenching seeds!)
- ○ Plastic wrap or humidity dome: 1 to retain moisture (optional but helpful)
- ● Fertilizer (balanced or organic): 1 small container (e.g., 5-5-5 or fish emulsion)
- ● Hardening-off tray or flat: 1 (for acclimating seedlings to outdoor conditions)
- ● Outdoor garden space: 6+ hours of full sun daily (south-facing spot ideal)
- ● Tomato cages or stakes: 1–2 per plant (3–6 feet tall, depending on variety)
- ● Mulch (straw or black plastic): 1–2 bags (to retain moisture and suppress weeds)
- ● pH test kit (ideal soil pH: 6.0–6.8)
- ● Heat mat (for faster germination if starting early)
- ● Compost or worm castings (for extra nutrients)
- ● Row covers (to protect young plants from pests)
- ● Pruning shears (for managing growth later)
Step-by-Step instructions for growing tomatoes from seed outdoors
Here’s how to turn tiny seeds into sun-ripened tomatoes in just two months—no greenhouse needed.
🌱 Step 1: Start Seeds Indoors 6-8 Weeks Before Last Frost
Fill small seedling trays with sterile seed-starting mix and press it down lightly so the surface is firm but not compacted. Plant seeds ¼ inch deep—any deeper delays germination because seedlings struggle to reach light. I use a toothpick to make a hole for each seed, then tap the seed packet gently to release one at a time. Planting too many in one hole leads to weak, crowded seedlings.
Cover the tray with a clear plastic dome or plastic wrap to trap warmth and moisture. Place it in a warm spot (around 70-75°F)—a seedling heat mat speeds germination if your home runs cooler. Keep the soil consistently moist but never soggy; condensation on the dome means you’ve got the moisture balance right.
☀️ Step 2: Provide Light and Harden Off Seedlings
Once seedlings emerge (usually in 7-10 days), remove the dome immediately to prevent damping-off disease. Place them under a grow light or in the brightest window you have, ensuring 14-16 hours of light daily. Without enough light, seedlings stretch toward the source (called “legginess”), and they’ll never recover. You’ll know light is sufficient when seedlings have thick stems and dark green leaves spaced closely together.
Two weeks before your last frost date, start hardening off seedlings by placing them outside in a sheltered spot for 1-2 hours the first day. Gradually increase their outdoor time by 1 hour daily over 10-14 days
Wait until nighttime temperatures stay above 50°F before transplanting. Choose a sunny spot with 6-8 hours of direct sun daily—tomatoes are heavy feeders and need warmth to set fruit. Dig holes just deep enough to bury seedlings up to their first true leaves (the second set of leaves, not the tiny cotyledons). Planting too deep can cause stem rot, while planting too shallow leaves roots exposed to drying winds. Space seedlings 18-24 inches apart in rows 3 feet apart to allow airflow and prevent disease. Water deeply right after transplanting to settle the soil around roots. Mulch with 2-3 inches of straw or grass clippings to retain moisture and suppress weeds. The mulch should look slightly damp but not wet—this keeps roots cool and prevents soil-borne diseases. Water tomatoes at the base 1-2 inches deep every 2-3 days, adjusting for rainfall. Let the top inch of soil dry out between waterings—consistent moisture prevents blossom-end rot, but soggy soil invites fungal diseases. Water in the morning so foliage dries quickly, reducing the risk of mildew. You’ll know your watering is right when the soil feels slightly damp but not glistening. Feed seedlings with a balanced fertilizer (10-10-10) every 2-3 weeks once they’ve developed their first true leaves. Switch to a low-nitrogen, high-phosphorus formula (5-10-10) when flowers appear to encourage fruit set. Over-fertilizing with nitrogen leads to lush foliage but few tomatoes—this is a common mistake that wastes time and resources. When plants reach 18-24 inches tall, install sturdy cages or stakes to support their weight. Tomatoes left unsupported sprawl and rot, ruining your harvest. Prune suckers (the small shoots that form in the joint between the stem and a branch) regularly to direct energy into fruit production. Suckers are the little growths that appear where a stem meets a branch—pinch them off with your fingers or snip with clean shears. Remove any yellow or diseased leaves immediately to improve airflow and prevent the spread of blight. You’ll see the first flowers appear in 4-6 weeks after transplanting. To boost fruit set, gently shake plants on a warm morning to help pollen transfer. If temperatures dip below 55°F during flowering, cover plants with a lightweight row cover until the threat passes—this prevents pollen from sticking together and failing to fertilize.🪴 Step 3: Transplant Seedlings Outdoors After Frost
💧 Step 4: Water and Fertilize for Maximum Yield
✂️ Step 5: Prune and Support for Bountiful Harvests
Tips & tricks for growing tomatoes from seed outdoors
Common pitfalls—and how to sidestep every one. The difference between thriving tomato plants and disappointing harvests often comes down to these simple but critical details.
Seed Starting: Use a toothpick to create precise planting holes for your seeds—this prevents overcrowding in Step 1, where planting too many seeds in one hole leads to weak, leggy seedlings. I also recommend using a seedling heat mat if your home stays below 70°F, as consistent warmth (around 70-75°F) is essential for reliable germination. Watch for condensation on the dome—this tells you the moisture balance is perfect without overwatering.
Light Management: The 14-16 hours of daily light in Step 2 is non-negotiable for preventing legginess. If you're using a window, rotate your trays every few days so all seedlings get even exposure. You'll notice seedlings are ready for more light when their stems thicken and leaves become dark green with close spacing—this is your cue that they're developing properly. A grow light on a timer is worth the investment if your windows can't provide enough consistent light.
Transplanting Timing: Don't rush transplanting outdoors—wait until nighttime temperatures stay above 50°F consistently. I've learned this the hard way after seeing seedlings wilt dramatically when moved too soon. When transplanting in Step 3, bury seedlings just up to their first true leaves (not the tiny cotyledons) to prevent stem rot while allowing roots to establish properly. The mulch should feel slightly damp but not wet—this balance prevents both drought stress and fungal diseases.
Fertilizer Strategy: The switch from 10-10-10 to 5-10-10 fertilizer in Step 4 is crucial when flowers appear. Too much nitrogen at this stage creates lush foliage at the expense of fruit production. I've seen gardeners waste entire seasons by over-fertilizing with nitrogen-rich formulas—always follow the package instructions carefully and adjust based on your plants' actual needs rather than calendar timing.
Pro Tips for Grow Tomatoes From Seed Outdoors
- Common pitfalls—and how to sidestep every one. The difference between thriving tomato plants and disappointing harves...
- Seed Starting: Use a toothpick to create precise planting holes for your seeds—this prevents overcrowding in Step 1, ...
- Light Management: The 14-16 hours of daily light in Step 2 is non-negotiable for preventing legginess. If you're usin...
Frequently asked questions
Got questions about growing tomatoes from seed outdoors?
You’re not alone! Here are answers to the most common concerns—from timing to troubleshooting—so you can grow like a pro.
When is the best time to start tomato seeds indoors before moving them outdoors?
Start seeds 6–8 weeks before your last frost date. For most climates, this means early March to mid-April. Seedlings need time to grow sturdy (about 4–6 inches tall) before transplanting after the soil warms to 50°F+. Check your local frost dates to fine-tune!
Can I plant tomato seeds directly outdoors instead of starting them inside?
Yes! If you live in a warm climate (like Zones 9–11), you can direct-sow seeds after the last frost when soil is at least 60°F. For cooler areas, direct sowing risks slow germination or weak seedlings. If you try it, use biodegradable seed starter pots to protect young plants.
What should I do if my tomato seedlings look leggy or weak after transplanting?
Leggy seedlings need more light—move them to a sunny window or under grow lights (14–16 hours/day). After transplanting, harden them off (acclimate to outdoor conditions) for 7–10 days. If they’re still struggling, bury stems deeper (up to the first leaves) to encourage root growth.
How do I know when my tomato plants are ready to harvest?
Harvest when tomatoes are fully colored (red, yellow, etc.), slightly soft to the touch, and easily detach from the vine. For heirlooms, wait until they’re ripe but firm—overripe tomatoes bruise easily. Pick regularly to encourage more fruit! Pro tip: Use pruning shears for clean cuts.
What’s the best way to protect tomato plants from pests like aphids or blight?
Prevent pests with row covers (for early seasons) and crop rotation. For aphids, blast them off with water or use neem oil. To fight blight (common in humid areas), space plants 18–24 inches apart for airflow, water at the base (not leaves), and remove diseased foliage immediately.
Still stumped?
Drop your question in the comments—we’re happy to help you grow a bountiful tomato harvest!
Wrapping up and next steps
Growing tomatoes from seed outdoors is a rewarding journey—one that turns tiny seeds into sun-ripened treasures in just 60 days! With the right soil, spacing, and care, you’ll enjoy homegrown flavor that beats store-bought any day.
Don’t let challenges like pests or weather slow you down; adapt, learn, and celebrate every milestone—from sprouts to harvest.
Ready to take the next step? Start small—plant a few seeds this season, then expand your garden next year. Share your progress with fellow gardeners, and soon, you’ll be swapping tips (and tomatoes!) like a pro. 🌱✨