
How To
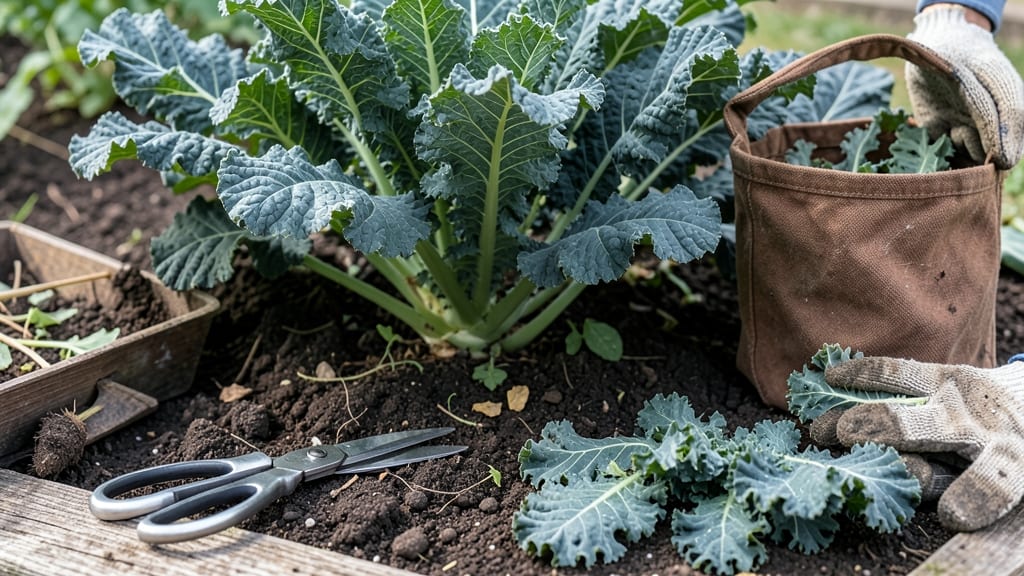
Mastering how to harvest dinosaur kale at the right time means the difference between tender, flavorful greens and tough, bitter leaves. This hardy plant—with its striking 🥬 blue-green fronds—rewards patience with a continuous harvest, but timing is everything.
You don’t want to wait too long, or those perfect leaves turn woody and less delicious. But harvest too early, and you’ll miss out on the full flavor and nutrients your garden worked so hard to produce.
The key lies in recognizing the ideal stages—whether you’re after baby leaves for salads or mature fronds for sautéing.
In this guide, I’ll walk you through the 3 leaf-stage tricks that’ll keep your dinosaur kale thriving all season. From spotting the perfect size to cutting techniques that encourage regrowth, you’ll learn how to maximize your yield without sacrificing plant health.
Whether you’re a seasoned gardener or just starting with USDA Zone 6a planting, these tips will help you turn your dinosaur kale into a year-round harvest machine. Let’s get those scissors sharp and those leaves ready for the table!


3 Ideal leaf-stage tricks for harvesting dinosaur kale
Dinosaur kale thrives when harvested at the right stages—each offering a different balance of flavor, texture, and regrowth potential. The key is recognizing three distinct leaf stages that signal when to pick for maximum yield.
Start by scanning your plants for these visual cues: baby leaves, mature fronds, and the cut-and-come-again method for continuous harvests.
For baby leaves, focus on harvesting when they’re 4-6 inches long and still tender. These young leaves pack the mildest flavor and are perfect for salads or quick-cooking dishes.
The secret here is to use clean, sharp scissors to snip just above a leaf node—this encourages the plant to branch out and produce more baby leaves in the future.
Mature fronds, on the other hand, are ready when they reach 8-12 inches and develop their signature deep blue-green color with frilly edges. These leaves are thicker, heartier, and ideal for sautéing or baking.
The trick is to harvest the outer leaves first, leaving the inner leaves to keep growing. This method preserves the plant’s energy and extends your harvest season.
Here’s where the magic happens: the cut-and-come-again method. This technique involves harvesting 1/3 of the plant at a time, cutting just above the lowest set of leaves. Dinosaur kale is remarkably resilient—it’ll regrow from the center, giving you a second (or even third) harvest in just 2-3 weeks.
Time your cuts for early morning to avoid wilting and to ensure the leaves stay crisp.
Harvest for salads; use scissors above leaf nodes.
Pick outer leaves; leaves should be deep blue-green.
Cut above lowest leaves; regrowth in 2-3 weeks.
Avoid the temptation to harvest overmature leaves, which turn bitter and tough. Look for signs like yellowing edges or woody stems—these indicate it’s past prime. Instead, prioritize selective harvesting to keep your dinosaur kale producing fresh, flavorful leaves for months.
This approach works especially well in cool-season gardens, where kale can thrive well into fall and even overwinter in mild climates.
Pro tip: Rotate your harvests around the plant to avoid creating bare spots. Dinosaur kale grows in a rosette shape, so aim to pick leaves evenly from all sides. This not only keeps the plant balanced but also ensures you’re not over-stressing one area.
Pair this with a light feeding of compost tea after each harvest to replenish nutrients and encourage vigorous regrowth.
Timing matters too. In spring and fall, when temperatures are mild, dinosaur kale grows rapidly and can handle more frequent harvests. But in summer’s heat, slow down—overharvesting can stress the plant, leading to bolting or stunted growth.
Always check the stem firmness and leaf color before harvesting; these are your best indicators of readiness.
For container growers, the same rules apply, but scale down your cuts. Dinosaur kale in pots may not have the same regrowth capacity as in-ground plants, so limit yourself to harvesting 1-2 outer leaves per plant every 2 weeks.
Choose larger containers (at least 12 inches wide) to give roots room to recover after harvesting.
Finally, don’t forget to store harvested leaves properly. Wrap them in a damp paper towel and place in a perforated plastic bag in the fridge. This keeps them crisp for up to 5-7 days.
For long-term storage, try freezing blanched leaves in airtight bags—perfect for smoothies or soups when fresh supplies run low.
Master these three leaf-stage tricks, and you’ll enjoy a continuous harvest of dinosaur kale that rivals any store-bought bunch. The key is patience and observation—your plants will thank you with bold, flavorful leaves all season long. 🌿
3 Ideal leaf-stage tricks for harvesting dinosaur kale
Dinosaur kale thrives when harvested at the right stages—each offering a different balance of flavor, texture, and regrowth potential. Unlike other kales, its deep-blue, frilly leaves and thick stems signal readiness better than size alone.
Master these three leaf-stage tricks to maximize your harvest without sacrificing future growth.
First, focus on baby leaves (3–6 inches long) for the tenderest, sweetest flavor. These young fronds are perfect for salads or microgreens. The key here is to harvest selectively—snip just the outer leaves while leaving the inner rosette intact.
This encourages the plant to bolt back with new growth, giving you multiple harvests from a single planting.
Next, target mature leaves (6–12 inches) for that classic earthy, slightly bitter taste ideal for sautéing or massaging. Look for leaves with deep blue-green color and frilly, textured edges.
These are prime for cut-and-come-again harvesting—cut the entire outer leaf, leaving the inner stem to regenerate. This method works best when leaves are fully unfurled but still pliable.
Harvest outer leaves only; leaves are tender and sweet. Ideal for salads.
Cut entire outer leaf; leaves are earthy and textured. Best for cooking.
Harvest whole plant; leaves may be tough and bitter. Save for soups or compost.
Finally, watch for over-mature leaves (12+ inches) that signal the plant is nearing the end of its productive cycle. These leaves are thicker, tougher, and more bitter, but they’re perfect for hearty dishes like soups or stews.
If your plant is bolting (sending up a flower stalk), harvest the entire plant immediately—these leaves lose their quality fast.
Timing matters too. Harvest in the morning after dew dries for the freshest, crispest leaves. Avoid harvesting after heavy rain, as wet leaves bruise easily and invite rot or pests.
And never harvest more than one-third of the plant at once—this keeps the center healthy and ensures continuous regrowth.
Pro tip: Use clean, sharp scissors or pruning shears to make clean cuts just above a leaf node (the point where leaves attach). This prevents damage to the stem and encourages faster healing. For large plants, leave at least 6–8 inches of growth at the base to maintain vigor.
With these tricks, you’ll enjoy a steady supply of dinosaur kale from early summer through fall—no bitter surprises or wasted effort. The secret? Harvest early, harvest often, and always leave the plant room to bounce back.