
How To
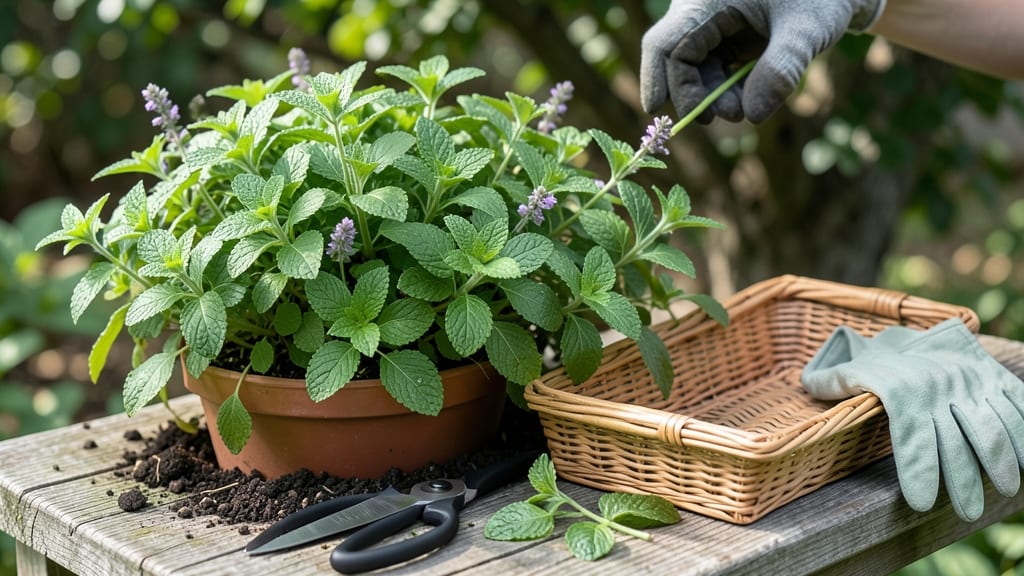
Harvesting fresh mint at the right time can turn your kitchen into a flavor powerhouse—but timing is everything. If you pluck leaves too early, they’ll taste bitter, and if you wait too long, you might stunt your plant’s growth.
The secret lies in waiting until those leaves hit that perfect 3-4 inch size, when their menthol-rich oils are at their peak.
Mint isn’t just easy to grow; it’s eager to regrow when you give it the right care. By following a few simple steps, you can keep your 🌿 mint thriving while ensuring every harvest delivers the bright, vibrant flavor you love.
Whether you’re making mojitos, salads, or homemade tea, knowing when and how to harvest makes all the difference.
Ready to master the art of harvesting? I’ll walk you through the best tools, techniques, and timing—plus how to store your harvest so it stays fresh longer. No more guesswork, just delicious, homegrown mint every time.
Let’s dive into the easiest way to keep your mint bushy, flavorful, and ready for your next recipe. You’ll wonder why you didn’t start sooner!


When to harvest mint for maximum flavor: the 3-4 inch rule explained
Harvesting mint at the right time ensures the brightest flavor and healthiest plant. The 3-4 inch rule isn’t arbitrary—it’s tied to when mint’s essential oils (like menthol) peak.
Leaves smaller than 3 inches often taste mild or bitter, while waiting too long can lead to woody stems and reduced potency.
Mint leaves grow in opposite pairs along the stem. When these pairs reach 3-4 inches long, the leaves contain the highest concentration of aromatic compounds. This is also when the stem thickness increases slightly, signaling maturity without sacrificing future growth.
Look for these visual cues to confirm readiness: vibrant green color, plump texture, and a strong minty scent when crushed. Avoid harvesting if leaves appear yellowing or sparse, as this indicates stress or over-harvesting.
Timing matters beyond size—harvest in the morning after dew has dried but before the midday sun intensifies. This preserves oil potency and prevents wilting. Early harvests also encourage bushier regrowth, giving you more leaves over time.
Avoid harvesting mint that’s flowering, as this shifts energy from leaves to seeds, reducing flavor and future harvests. If you spot buds or blooms, prune them immediately to redirect the plant’s focus back to leaf production.
| Harvest Stage | Leaf Size | Flavor Profile | Plant Health Impact |
|---|---|---|---|
| Too Early (<3") | 1-2 inches | Mild, bitter, or weak | Stunted growth, sparse leaves |
| Optimal (3-4") | 3-4 inches | Bold, aromatic, sweet | Encourages bushier growth |
| Overripe (>4") | 4+ inches | Dull, woody, less potent | Risk of flowering, reduced regrowth |
Seasonal timing also plays a role. In spring and early summer, mint grows rapidly, so you can harvest every 4-6 weeks. By late summer, growth slows, so space out harvests to every 6-8 weeks to avoid stressing the plant.
If your mint is in a container, harvest more frequently—every 3-4 weeks—since root space is limited. In-ground mint can handle slightly longer intervals, but never let leaves grow beyond 4 inches without harvesting.
Pro tip: Use a sharp pair of scissors or pruners to cut just above a leaf node (the point where leaves grow). This encourages new shoots to sprout from that node, creating a denser, fuller plant over time.
Harvesting mint correctly isn’t just about flavor—it’s about sustaining your plant’s health. By following the 3-4 inch rule and these seasonal guidelines, you’ll enjoy peak-flavor leaves all season long without sacrificing future harvests. 🌿
Step-by-step mint harvesting techniques: pruning, pinching, and preservation
Harvesting mint isn’t just about snipping leaves—it’s about preserving flavor and encouraging regrowth. The key is to use the right tools and techniques to avoid damaging your plant while maximizing yield. Start with a clean, sharp pair of pruning shears or even your fingers for smaller harvests.
Always harvest in the morning after dew dries to ensure the freshest leaves with the highest menthol content.
For bushier growth, focus on pinching back the tips of stems. This encourages the plant to branch out, giving you more leaves over time. Simply pinch off the top set of leaves using your thumb and forefinger, leaving about 2-3 inches of stem behind.
This method works best when your mint plant is at least 6 inches tall and has multiple sets of leaves.
- Step 1: Choose the Right Time – Harvest in the morning when essential oils are at their peak.
- Step 2: Select Mature Leaves – Focus on leaves that are 3-4 inches long and vibrant green.
- Step 3: Use Clean Tools – Use sharp scissors or your fingers to avoid crushing stems.
- Step 4: Prune Strategically – Cut just above a leaf node to encourage new growth.
- Step 5: Store Properly – Rinse, dry, and store in the fridge or freezer for freshness.
When harvesting larger quantities, use pruning shears to cut stems at a 45-degree angle just above a leaf node. This angle helps water run off and prevents rot. Avoid cutting into woody stems, as this can harm the plant.
If you notice flower buds forming, snip them off immediately—they signal the end of the plant’s productive cycle and can make leaves taste bitter.
To preserve freshness, store harvested mint in a sealed container with a damp paper towel in the fridge for up to 2 weeks. For long-term storage, freeze leaves in ice cube trays with water or dry them in a low-temperature dehydrator or hanging bundle.
Dried mint retains flavor for months, making it perfect for teas and seasonings.
Never harvest more than one-third of the plant at once, or you risk stunting growth. If your mint looks overcrowded or leggy, it’s time to divide and replant sections. This keeps your plant healthy and ensures a steady supply of fresh leaves all season long.
With these techniques, you’ll enjoy abundant, flavorful mint all growing season—without sacrificing your plant’s health. Happy harvesting! 🌱