
How To
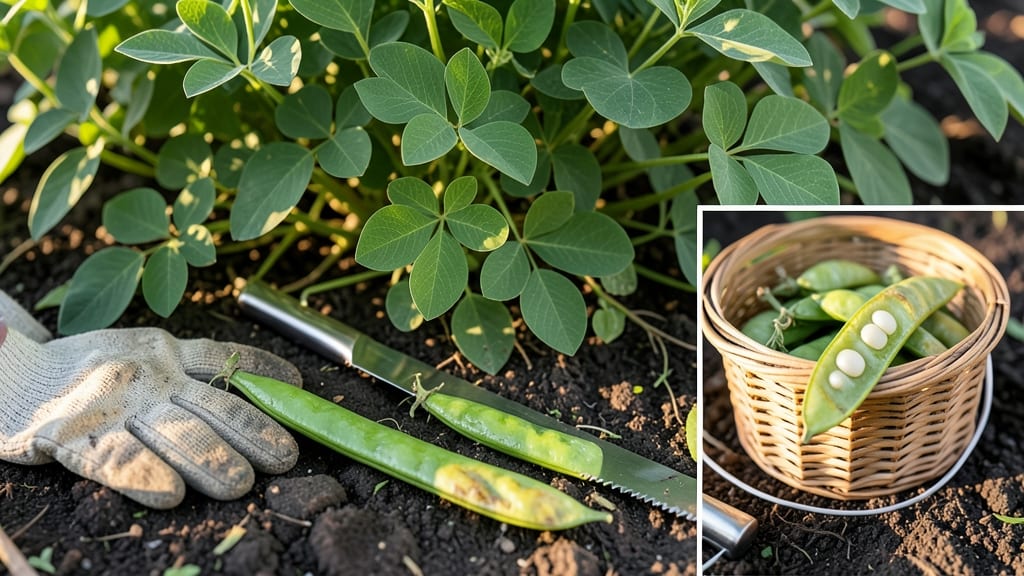
How to know when beans are ready to harvest can make the difference between a garden full of crisp, flavorful pods and a sad pile of tough, stringy leftovers. The right timing isn't just about counting days—it's about watching for specific visual cues that tell you the moment is perfect.
Most bean varieties reach their prime harvest window between 50-60 days after planting, but color, size, and firmness are the true indicators. A pod that's too small or still growing means you'll miss the sweet spot, while waiting too long turns your beans into woody disappointment.
Let me show you the exact signs to watch for so you never guess again.
From the classic snap test to understanding how different varieties mature, you'll learn how to check your beans' readiness without damaging the plant. Whether you're growing bush beans in containers or climbing varieties in your backyard, these simple techniques will help you pick at peak flavor every time.
Ready to transform your harvest from "meh" to "mind-blowing"? Let's dive into the foolproof methods that will have you harvesting like a pro—no more second-guessing, just perfect pods every time.


3 Key visual signs your green beans are harvest-ready
Green beans are at their peak flavor when harvested at the right moment—but one wrong move can turn them from tender to tough. The secret lies in three simple visual cues: pod size, color consistency, and firmness.
I’ve learned the hard way that ignoring these signs leads to stringy, over-mature beans that ruin even the best recipes. Let’s break down what to look for in your garden.
First, check the length of the pods. For most green bean varieties like Blue Lake or Roma, harvest-ready pods measure between 4 to 6 inches. If they’re shorter than 3 inches, they’re still growing.
Overlooking this can mean waiting too long, and the beans will toughen up. Remember, bush beans and pole beans share similar size cues, but pole beans often need a little more time to reach full length.
Next, examine the color uniformity. Ready-to-harvest beans should boast a vibrant, even hue—whether bright green, purple, or yellow, depending on the variety. Pale or patchy colors signal underripe beans, while dark spots or wrinkled skin mean they’ve passed their prime.
For example, Purple Majesty beans should be a deep, consistent purple, not fading or streaky.
Now, squeeze gently to test pod firmness. A perfectly ripe bean resists slight pressure but doesn’t feel rock-hard. If it feels soft or mushy, it’s past its peak. On the flip side, if it’s still too pliable, it needs more time on the vine.
This tactile check is your best friend for avoiding the “too early” trap, which often happens when gardeners rush to pick before the beans are fully developed.
Pod Size: 4-6 Inches
Measure pods—most varieties hit peak flavor at 4-6 inches. Shorter than 3 inches? Too early. Longer than 6 inches? Overripe.
Color: Vibrant & Uniform
Look for deep, even color—no pale patches or dark spots. Green beans should be bright green; purple beans should be rich purple.
Firmness: Resists Gentle Pressure
Squeeze pods—firm but not hard. Soft pods are overripe; too-hard pods are underripe.
Variety matters! Snap peas and sugar snap peas are ready when pods are 3-4 inches long and still slightly curved, while dry beans (like black beans) should be left on the vine until pods turn brown and papery.
For example, I once picked Kentucky Wonder beans too early because I confused their size with Blue Lake beans—big mistake! Always double-check your seed packet for specific guidelines.
Timing is everything. Harvest in the morning when beans are cool and crisp. Avoid picking after rain or in the heat of the day, as this can cause pods to wilt or split. Pro tip: Use sharp scissors or pruners to snip stems just above the pod.
This encourages more beans to form and keeps plants healthy. I’ve seen beginners tug pods off, which can damage the vine and reduce future yields.
Don’t forget to harvest regularly. Green beans produce continuously, so check your plants every 2-3 days during peak season. Skipping harvests slows production and leads to overcrowded pods.
In my garden, I set a reminder to check beans at the same time I water—it’s become a habit that ensures I never miss the perfect window. The more you pick, the more your plants will produce!
The snap test: how to check bean tenderness without cutting them
Mastering the snap test is the secret weapon in your bean-harvesting arsenal. This simple tactile check lets you gauge ripeness without damaging a single pod—just bend a bean gently between your fingers.
A crisp, clean snap signals peak flavor, while a dull thud or bend without resistance means it’s past its prime. I’ve used this method for years, and it’s saved me from harvesting leathery, flavorless beans more times than I can count.
Here’s the trick: don’t snap the pod completely. Instead, apply gentle pressure near the middle—just enough to feel resistance. If it bends slightly but springs back, it’s ready. If it bends too easily (like overripe green beans) or feels rock-hard (underripe), hold off for another day.
This test works for green beans, snap peas, and even dry beans when checking for shell hardness.
🔊 Pro Tip: The Perfect Snap
Listen for a high-pitched crack—like snapping a dry twig. A low thud means the bean is overripe, while no sound at all signals underripeness. Test 2-3 pods per plant to confirm consistency.
Timing matters too. Perform the snap test in the morning when pods are cool and hydrated. Heat during the day can make beans feel firmer than they are, leading to false "ready" signals.
I always test after watering to ensure accuracy—this mimics the natural crispness you’d find in store-bought beans at their peak.
For pole beans, focus on the middle pods first, as they mature slightly earlier than those near the top or bottom. With bush beans, check pods from the outermost branches inward, since they tend to ripen sequentially.
This targeted approach prevents over-harvesting from one section while others lag behind.
One common mistake? Testing pods that are already too mature. If you hear a hollow sound (like tapping a wooden pipe), the bean has dried out inside and lost its snap. At this stage, it’s best to remove the pod entirely to encourage the plant to produce new ones.
I’ve learned this lesson the hard way—skipping harvests leads to bitter, stringy beans that no one wants to eat.
Pair the snap test with the color and size checks from earlier for foolproof results. Together, these methods ensure you’re harvesting beans at their absolute best—crisp, tender, and packed with flavor. Once you’ve mastered the snap, you’ll wonder how you ever guessed without it.