
How To
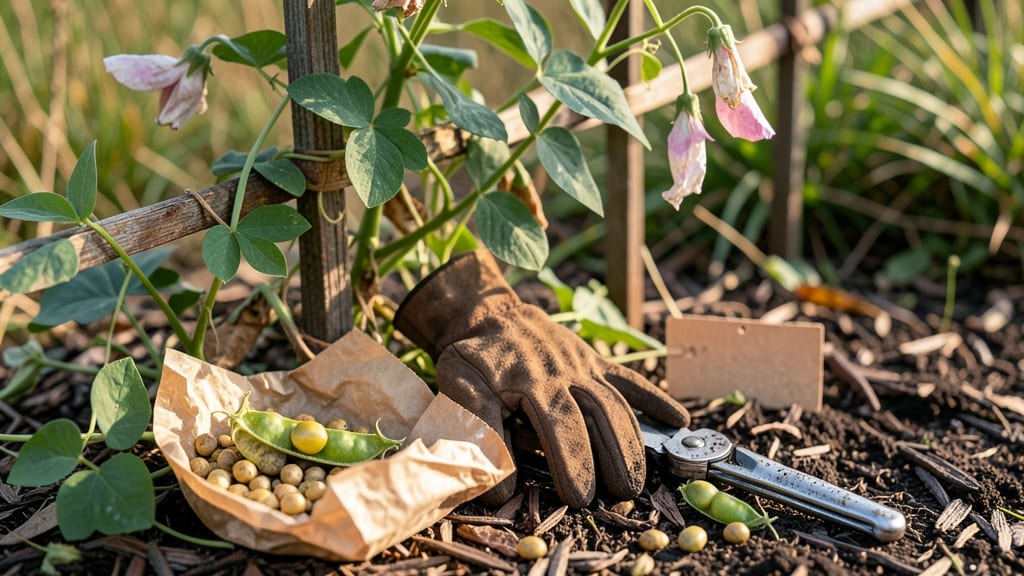
Harvesting sweet pea seeds 🌸 is the secret to growing next year’s garden for free—if you time it just right. These delicate climbers produce pods packed with potential, but one wrong move can ruin your chances of saving viable seeds for planting.
I’ve learned the hard way that waiting too long means seeds scatter everywhere, while harvesting too early leaves you with soft, unusable seeds. The key lies in spotting the perfect moment when pods turn brown, rattle when shaken, and feel dry to the touch—like tiny paper sacks ready to burst.
In this guide, I’ll walk you through the exact steps to collect, clean, and store sweet pea seeds so they’re ready to sprout strong plants next spring. No more wasted pods or weak seedlings—just reliable, homegrown blooms that’ll make your garden the envy of the neighborhood.
Whether you’re saving heirloom varieties or just want to cut costs, mastering this skill transforms your sweet peas from pretty flowers into a self-sustaining garden resource. Let’s get those seeds ready for their big debut!


When and how to identify perfectly ripe sweet pea seed pods
Sweet peas produce seeds in pods that must reach maturity before harvesting. Timing is everything—pick too early, and seeds won’t germinate; leave them too long, and they’ll scatter or spoil. The key is watching for visual cues that signal readiness.
Start monitoring pods in late summer (around July-August), when they transition from green to brown. The ideal harvesting window is when pods turn fully brown and begin to dry out but haven’t yet split open naturally.
Look for three critical signs of ripe pods: a dry, papery texture, a hollow sound when shaken (like rattling seeds inside), and dark-colored seeds visible through the pod’s seam. These clues confirm the seeds are viable and ready for collection.
| Sign | Description | Action |
|---|---|---|
| Pod Color | Uniformly brown (not green or mottled) | Harvest within 2-3 days |
| Texture | Dry and papery to the touch | Gently twist to detach |
| Sound | Rattles when shaken (seeds inside) | Collect immediately |
| Seed Appearance | Dark and hard (not soft or light-colored) | Critical for viability |
| Avoid If... | Pods are green or splitting open | Seeds won’t germinate |
Harvest pods on a dry, sunny morning to prevent moisture from promoting mold. Use clean, sharp scissors or pruners to snip the stem 1-2 inches below the pod. This reduces stress on the plant and minimizes disease risk.
If pods begin to split open naturally, act fast—scatter seeds on a paper towel to dry immediately. Overripe pods release seeds prematurely, reducing your yield and viability for next season.
Pro tip: Label pods with variety names and harvest dates using a waterproof marker. This ensures you’ll know exactly which seeds to plant and when they were collected for optimal germination.
Remember, heirloom varieties are best for seed-saving, while hybrids may not produce true-to-type offspring. Stick to heirlooms like 'Cupani' or 'Perfume' for reliable results.
Step-by-step seed extraction and drying process for maximum germination
Once you’ve harvested your perfectly ripe sweet pea pods, the next critical step is extracting and drying the seeds properly. This ensures high germination rates and prevents mold or rot. Start by placing your pods in a well-ventilated, dry location like a seed tray or paper bag.
Use a small knife or scissors to carefully open each pod along its seam. Avoid crushing the seeds inside—gentle handling is key. Remove any discolored or shriveled seeds, as these won’t germinate well. For heirloom varieties, this step is especially important to maintain true-to-type traits.
After extraction, spread the seeds on a paper towel or mesh screen in a cool, dry place away from direct sunlight. Aim for 1-2 weeks of drying time, stirring them occasionally to prevent clumping.
A dehumidifier-free environment (like a basement or seed storage box) is ideal—humidity above 40% risks mold.
Once the seeds feel completely dry and brittle, transfer them to paper envelopes or airtight containers. Label each with the variety name and harvest date—this prevents mix-ups and helps track seed viability over time.
Store in a dark, cool spot (like a fridge) for up to 3-5 years.
For hybrid varieties, note that saved seeds may not produce identical plants. If you’re growing heirloom sweet peas, this process ensures you’ll have true-to-type seeds for next season’s blooms. Proper drying is the make-or-break step—skip it, and you risk losing your entire seed batch.
Finally, test a few seeds by planting them in moist potting mix to confirm germination before storing the rest. This quick viability check gives you peace of mind that your hard work paid off—nothing beats the reward of watching your saved seeds sprout into vibrant climbers!